In this article we look at the Sales Batch Printing & Emailing function in Jiwa, and how pre-defined settings can be created to meet your requirements. The topic's covered are;
-
Printing / Emailing Settings,
-
Email Templates, and
-
Batch Printing and Emailing
Settings
Batch settings allow you to set an unlimited number of pre-defined printing and emailing parameters to meet specific business processes.
These pre-defined settings can then be used in the Sales Order Batch Printing & Emailing form.
User defined Settings do not need to be created in order to use the Batch Printing & Emailing form as changes can be made ad-hoc at the time of running the process.
From the Sales menu select Printing & Emailing | Configuration | Settings

From the menu ribbon select New to create new settings

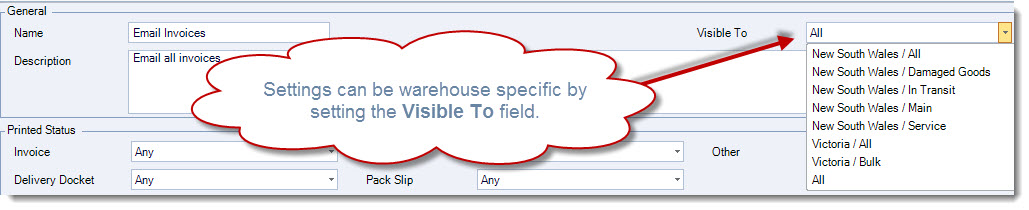
In the General section of the form give your new settings a name and description

If your settings are warehouse specific for example the printing of picking slips for a specific warehouse then you can limit the warehouse that the settings are available to by changing the Visible To option.
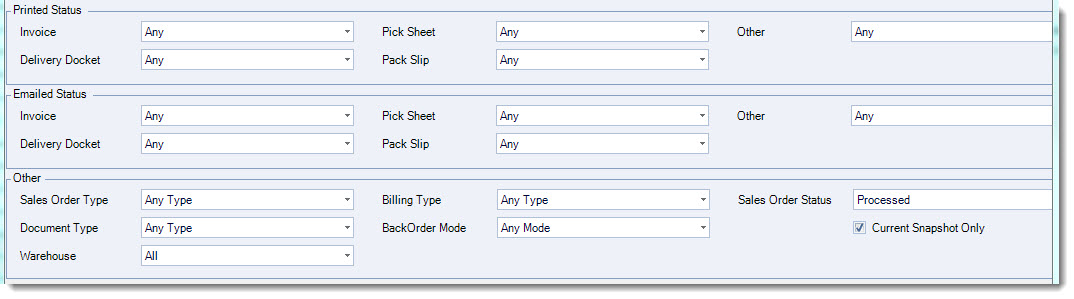
Set your Printed and Emailed statuses and Other settings. Refer to the table below for further details on these settings.
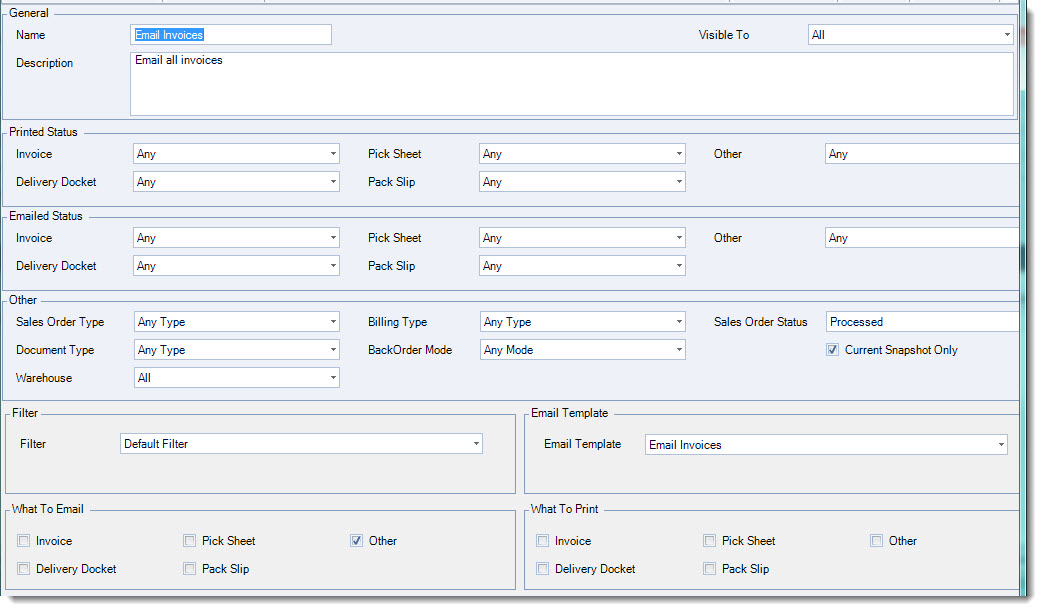
Select the Filter to be applied and if applicable the Email Template to be used

Select the documents to be emailed and/or printed.

Document Types
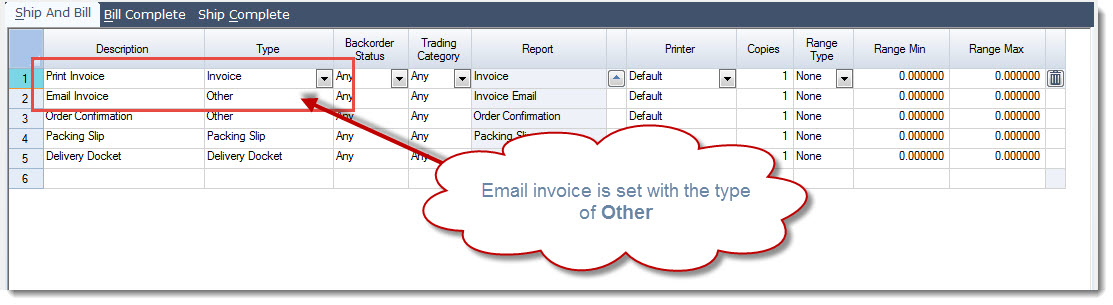
Document type refers to the document type assigned to your sales reports in Printer Settings.
If you have 2 different invoice reports one for printing and another for emailing it is recommended that one of the reports is set to the type of Other.
In the example below the email invoice has a type of Other.
From the menu ribbon select Save to record you changes.
|
Field |
Description |
|
General |
This section of the form is where you give your custom settings a name and description, also limit the warehouse to which the setting is visible to. |
|
Printed Status |
Select the print status of the report or reports to be produced. The following print statuses for each document type are available;
|
|
Emailed Status |
Select the email status of the report or reports to be produced. The following email statuses for each document type are available;
|
|
Other |
This section of the form allows you to filter transactions by type and specific physical or logical warehouse. |
|
Filter |
Select the filter that is applicable to this predefined setting. Jiwa comes with the following pre-defined filters. Custom stored procedures can be developed to meet your requirements, contact your Jiwa Consultant to discuss your specific needs.
|
|
Email Template |
Select the email template to be used if applicable |
|
What to Email |
Select which document types are to be emailed |
|
What to Print |
Select which document types are to be printed |
Email Templates
Unlimited email templates for batch emailing sales order documents can be created to meet specific emailing requirements.
It is highly recommended that a least a default email template is created before batch emailing your sales documents.
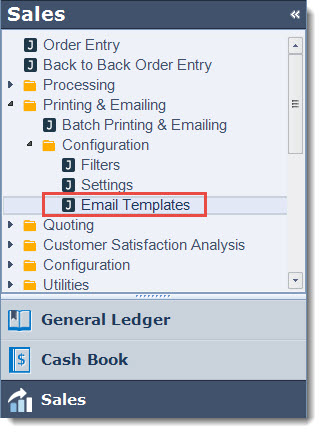
From the Sales menu select Printing & Emailing | Email Templates
From the menu ribbon select New

Enter the template name in the Name field

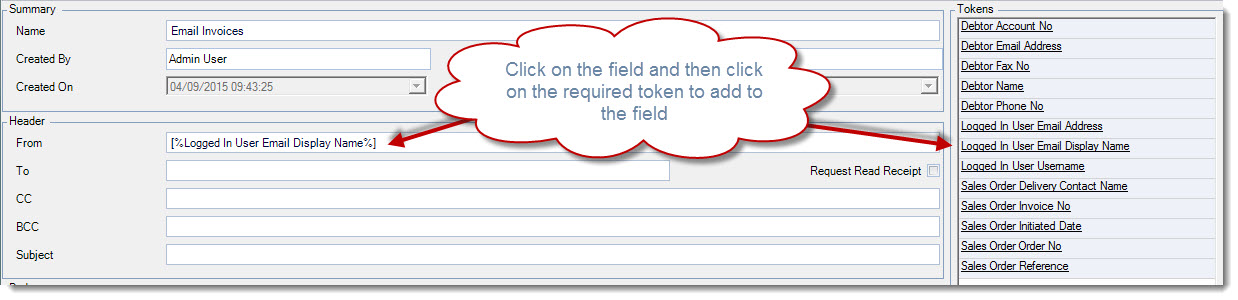
To the right of the form we have Tokens these are used to add to our email template. Tokens are fields from Jiwa that can be used in the template. If you require additional tokens please contact your Jiwa Consultant to discuss your requirements.
To begin place your cursor in the From field, then click on the token you want to use in this field.
In the example below we are using the Logged in User Email Display Name this is the name the email will be sent from.
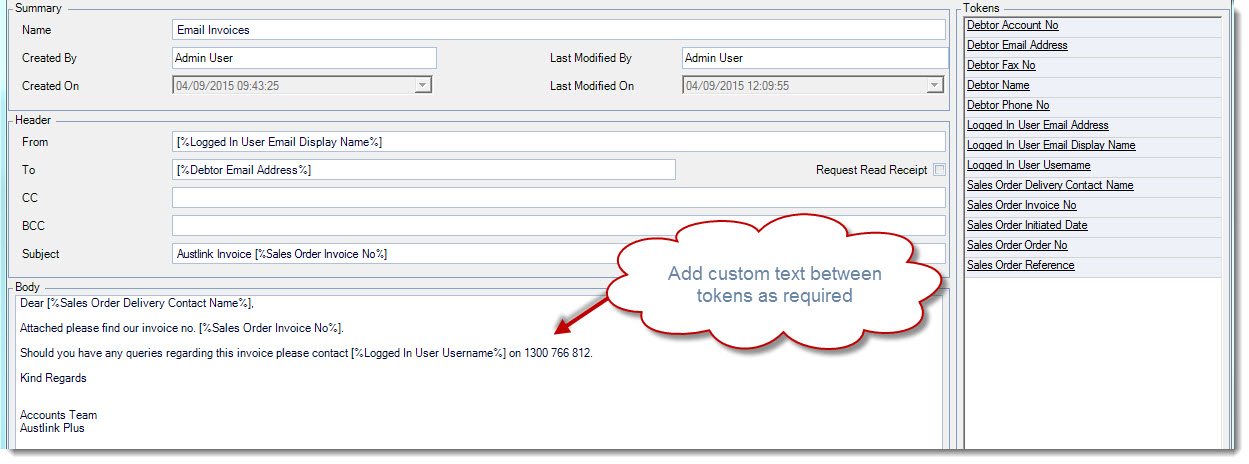
Repeat this process for each of the Header fields and the Body of your email.
Add custom text between your tokens as required.
From the menu ribbon select Save to record your changes.
Batch Printing & Emailing
It is recommended that you have set up at the very least a default email template before you start to use this form to batch email your documents.
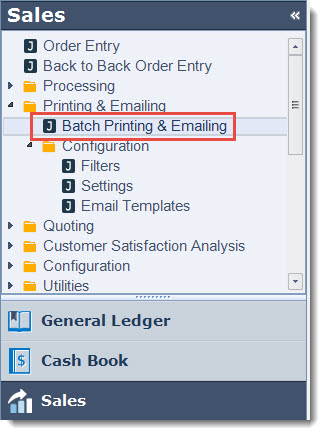
From the Sales menu select Printing & Emailing | Batch Printing & Emailing
In the Ranges grid set filter parameters if applicable. This is useful if you want to only print or email out sales documents for a;
-
Range of sales order / invoice numbers,
-
Select group of customers eg. those that wanted emailed invoices to those that wanted printed invoices, or
-
Sales Order batch processing run

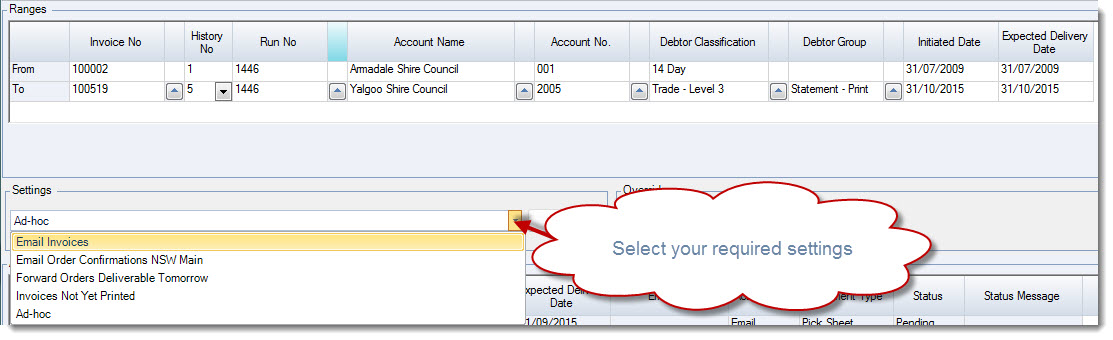
Select the custom setting you want to use from the settings list.
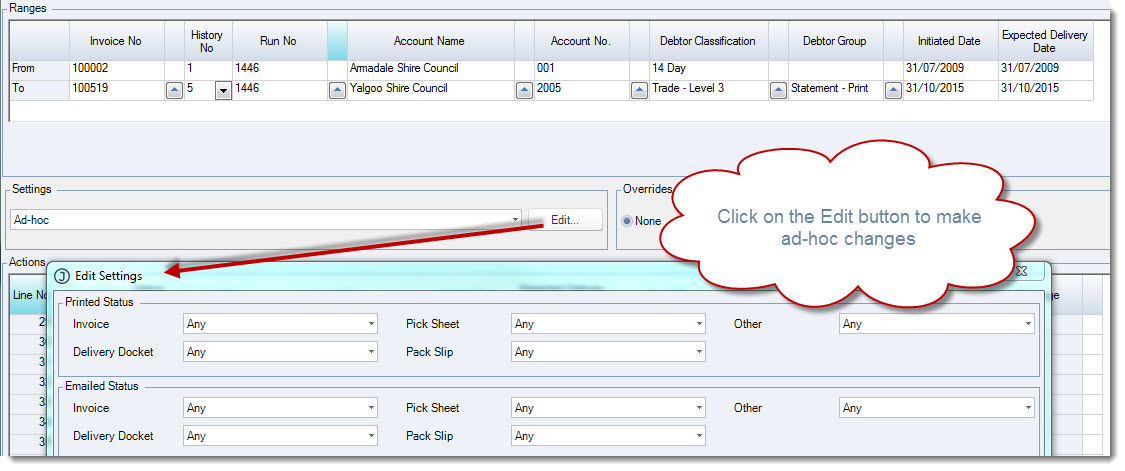
Alternatively, you can use Ad-hoc settings by clicking on the edit button to activate the Edit Settings form and make your required changes.
When you have selected your settings click on the Go button to load the actions grid.

This will load the Actions grid where you can review the documents that will be printed and or emailed.
In the example below documents will be emailed only so we can check to ensure that all lines have an email to address listed.
Actions can be removed from the grid by clicking on the rubbish bin icon next to the applicable line.
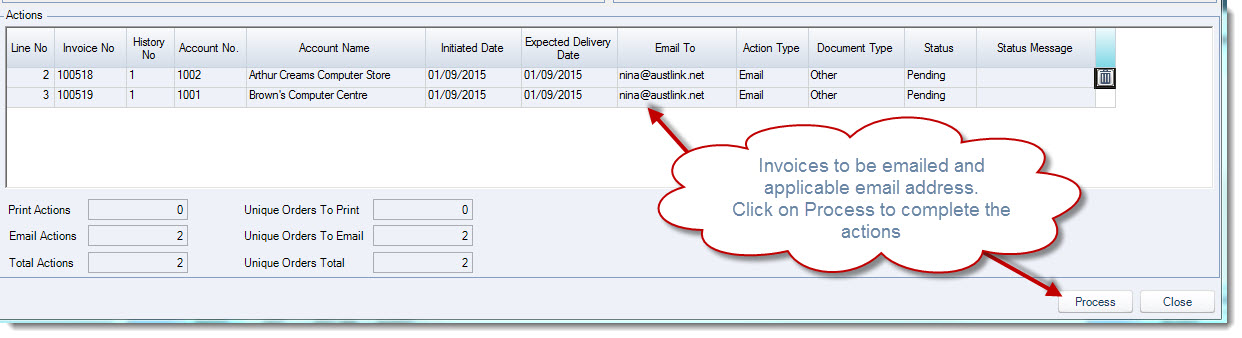
To process the actions on the grid click on the Process button at the bottom of the form.
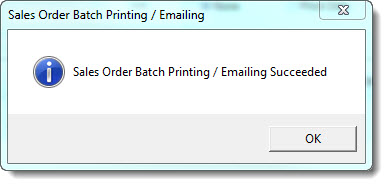
When all actions have been completed the following popup message will appear.
Select OK which will then lead to the Remove Succeeded? popup message.
This message allows you to clear the actions grid of all actions that have succeeded leaving you with only those that have failed.
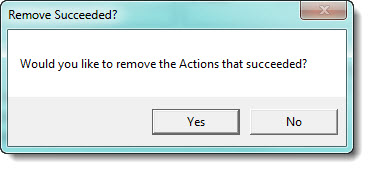
Select Yes to update the grid.
Actions that have failed remain in the actions grid with the status message field updated providing a description of the failure.
Double right click on the Status Message field to see the full message.
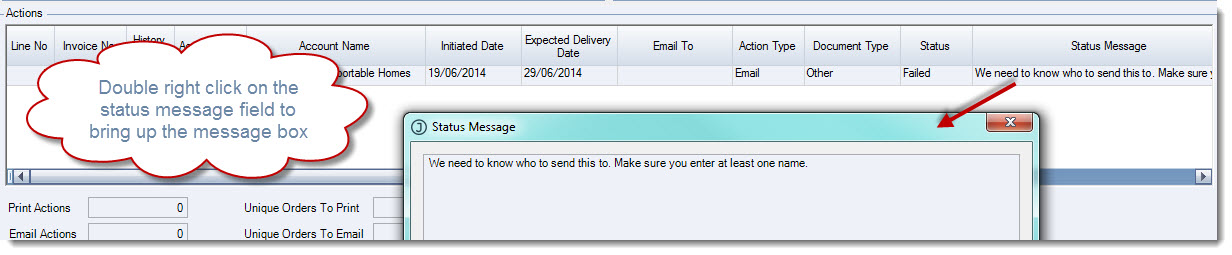
Select the Close icon to close the status message popup.