In this article we look at two (2) different ways in which customer transaction history can be viewed.
-
Debtor Transactions Tab
-
Debtors Transactions Report
Debtor Transactions Tab
A quick and easy way to view customer transaction history is from the Transactions tab on the Debtor Maintenance form.
The advantage in using the Transactions tab is that you can;
-
Sort transactions in the grid,
-
Drill down into the actual transaction,
-
Search for transactions using the search grid option, and
-
Copy and paste the grid content to Excel
From the menu select Debtors | Maintenance
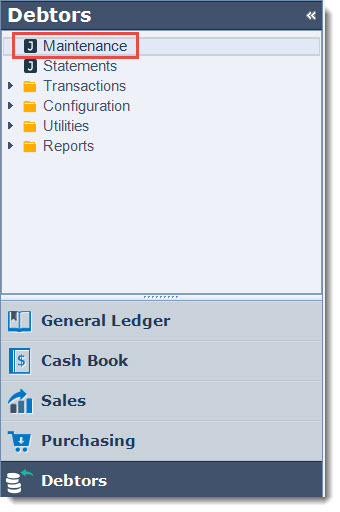
Load your customer record into the form.
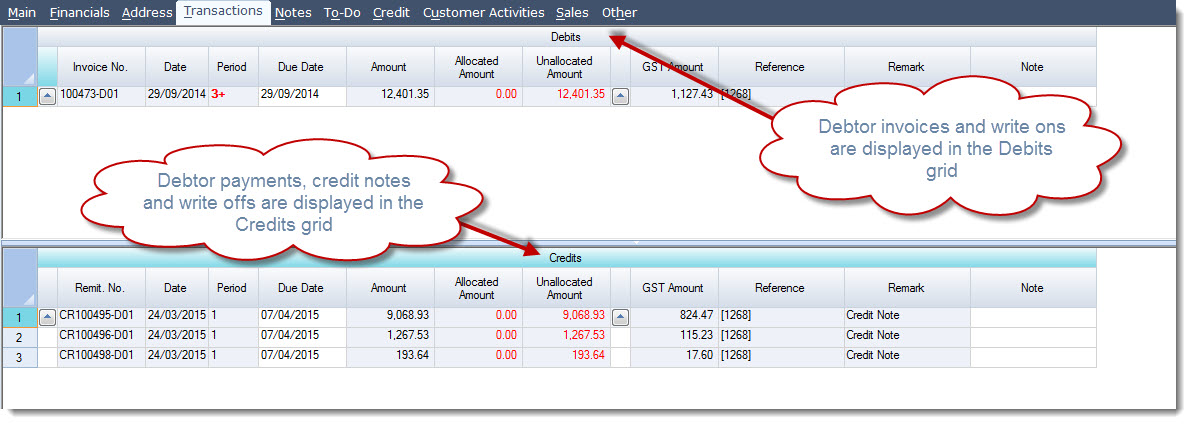
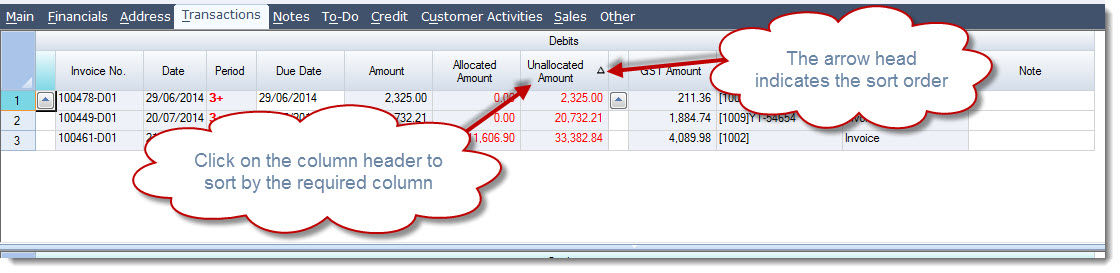
Select the Transactions tab

The tab is split into two (2) grids
|
Debits |
Displays debit entries such as invoices and Debtor write ons made against the Debtor account |
|
Credits |
Displays credit entries such as payments received, credit notes and Debtor write offs made against the Debtor account |
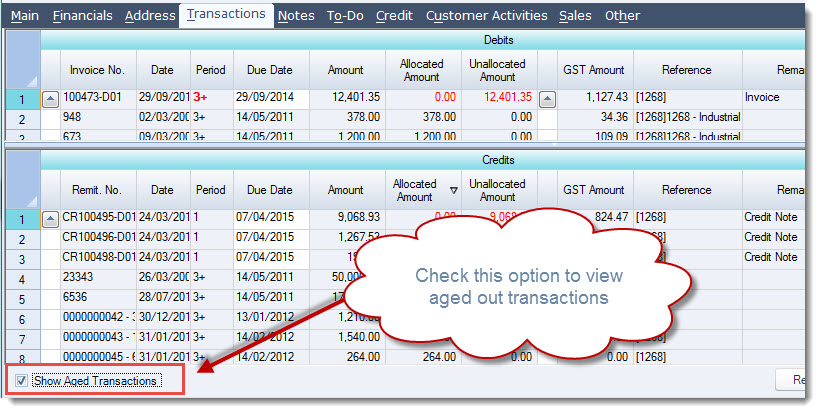
To view all transactions including those that have been aged out tick the check box Show Aged Transactions at the bottom of the transaction tab.
To sort a grid simply click on the column header you want to sort by
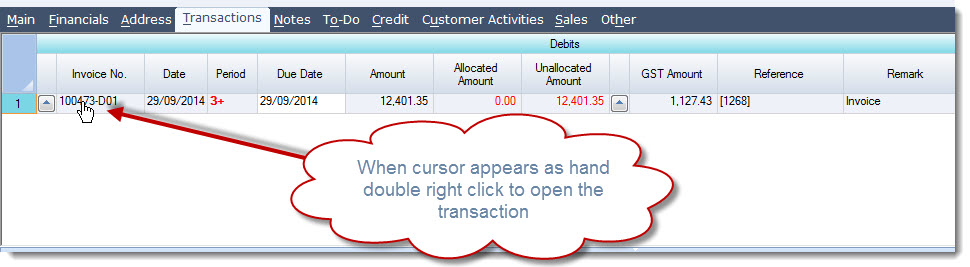
To drill down into a transaction move your mouse over the invoice or remit no under your cursor changes to a hand then double right mouse click to open the original transactions.
To find a transaction in the grid, right mouse click over the column headings and select Search This Grid
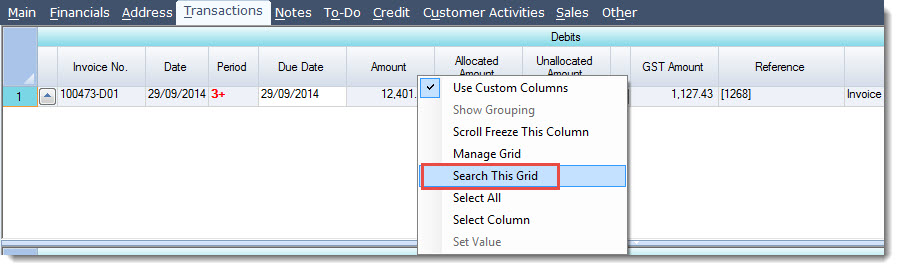
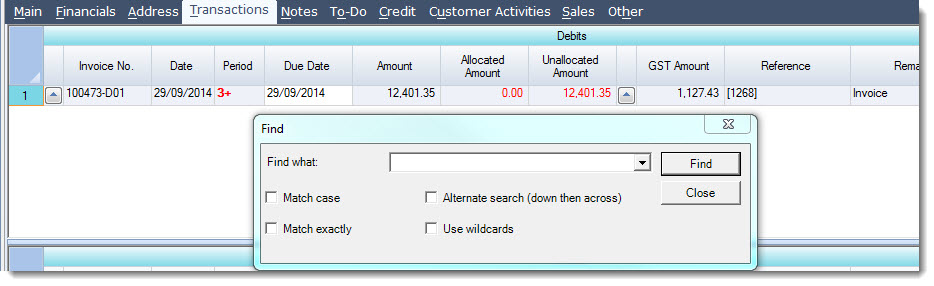
This will bring up the Find dialogue box
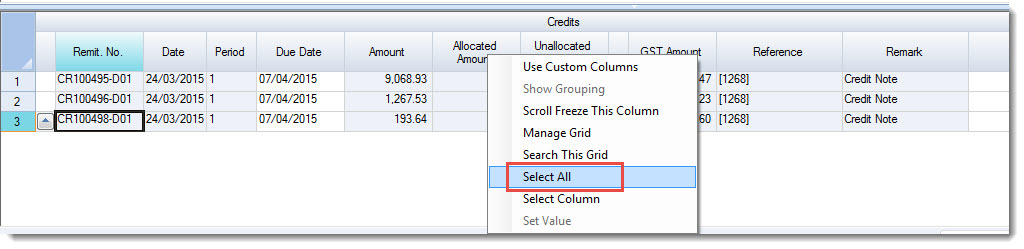
To copy the grid to Excel right mouse click over the column headers and select Select All
When the grid is highlighted on your keyboard press Ctrl + C to copy the contents of the grid.
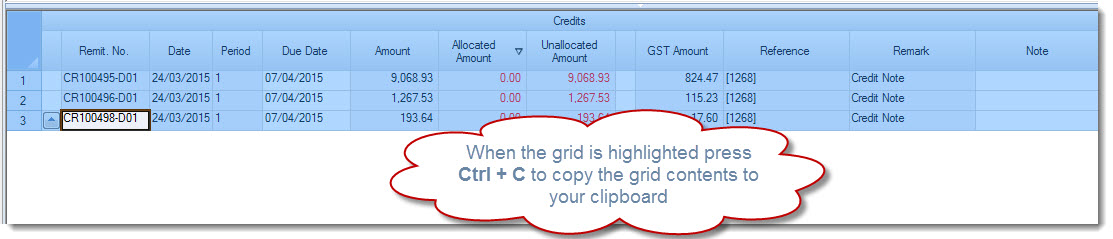
Open Excel and paste

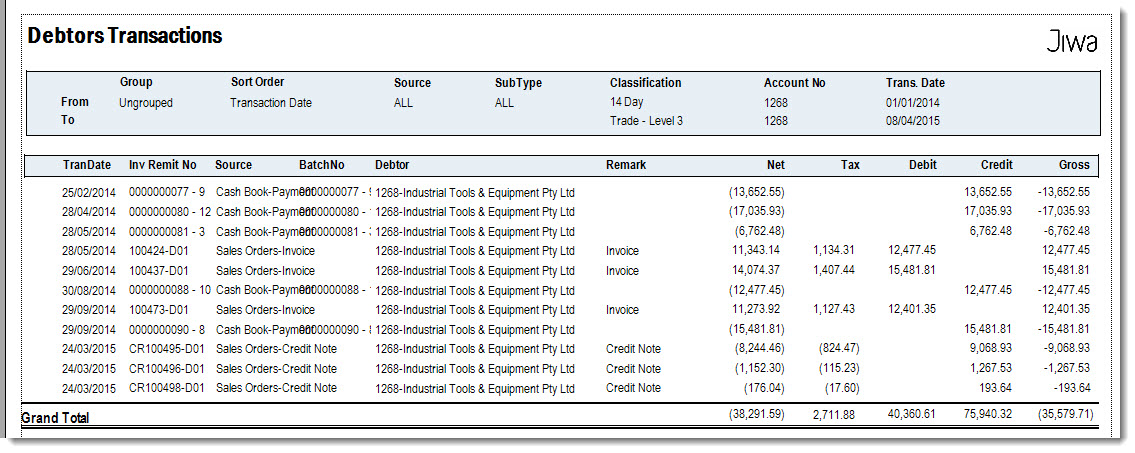
Debtor Transactions Report
A report is also available that will show all Debtor transactions based on the criteria you have entered.
The advantage in using the Transactions Reports is that you can;
-
Filter out the type of transactions to be reported,
-
Select a data range,
-
Specify how the report is to be groups, and
-
Export the report to Excel
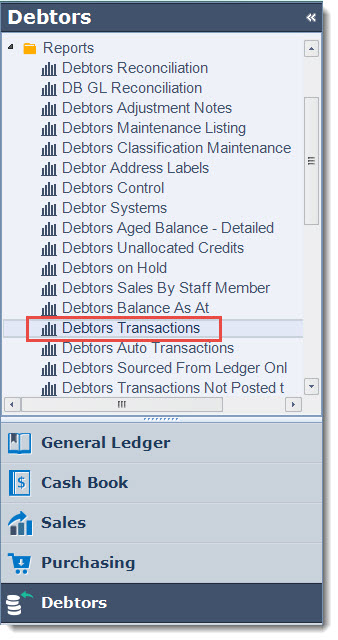
From the menu select Debtors | Reports | Debtors Transactions
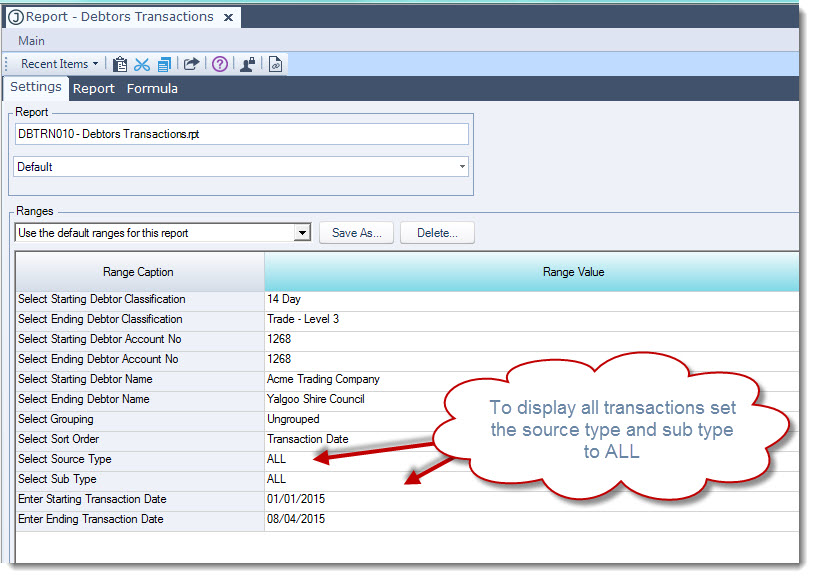
Set your reporting ranges
To print your report to screen check Print to Screen and press the printer icon.

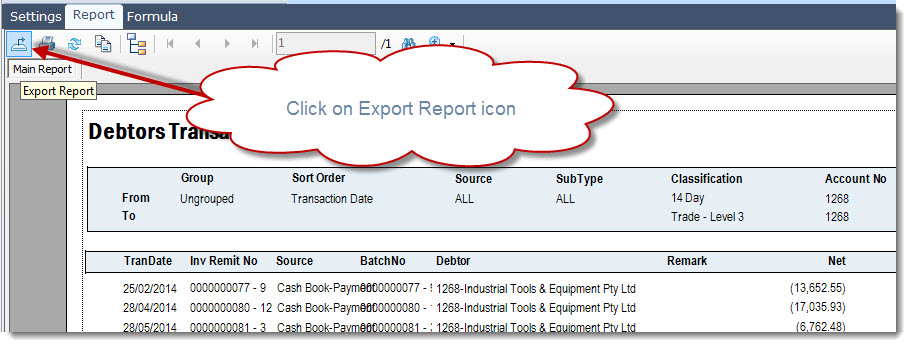
To export your report from the menu tool bar click on the Export Report icon
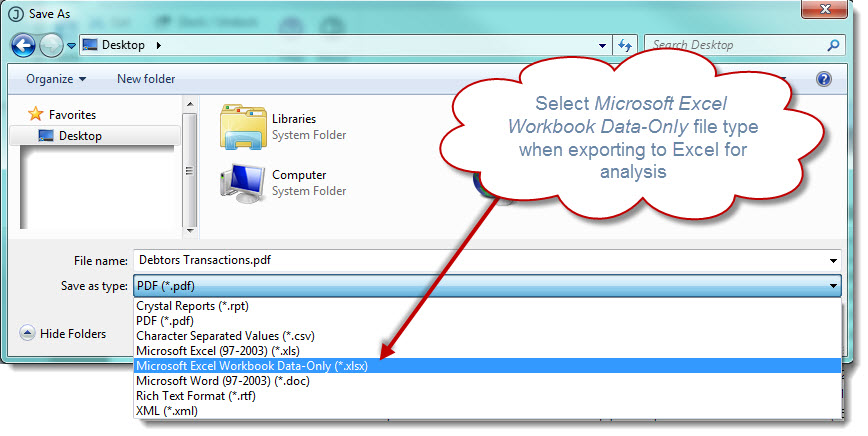
This will open the Save As dialogue popup, from here select
-
Where the file is to be saved,
-
Confirm the file name, and
-
Select the file type to export to
Note: If exporting to Excel for analysis purposes then use the file type Microsoft Excel Wrokbook Data-Only (*.xlsx)
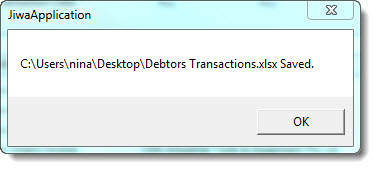
Once the export is complete a message will appear detailing where the file was saved and the file name.

This video is best seen on the full screen. Just click on the icon at the bottom right of the video (see image below).
To exit full screen just press escape