
Supplier Return Shipping is used in Jiwa when goods need to be physically returned to a supplier as part of the supplier return process.
This article explains how to create a Supplier Return Shipping document. If a Supplier Return Request has already been raised, the shipping document can be created as the next step in the return process. If your business does not use Supplier Return Requests, a Supplier Return Shipping document can also be created directly.
Supplier Return Shipping is an optional step. When used, it transfers the returned stock to the In Transit location, where it remains until the supplier credit is received and processed. This updates inventory and creates the related journal entries for the stock movement.
If your business does not physically return goods to the supplier, or does not use Supplier Return Shipping as part of the return process, you can move directly to the Supplier Return Credit process.
|
Step |
Required? |
Purpose |
|---|---|---|
|
Supplier Return Request |
Optional |
Records the initial request for a return, replacement, or pricing credit. |
|
Supplier Return Shipping |
Optional |
Transfers returned stock to the In Transit location while waiting for the supplier credit. |
|
Supplier Return Credit |
Mandatory |
Records the supplier credit note and completes the supplier return process. |
In Transit location required
If your business uses Supplier Return Shipping, an In Transit location must be created in each applicable physical warehouse.
Supplier Return Shipping - No Request
Here we will be looking at creating a Supplier Return Shipping document without having a return request in Jiwa.
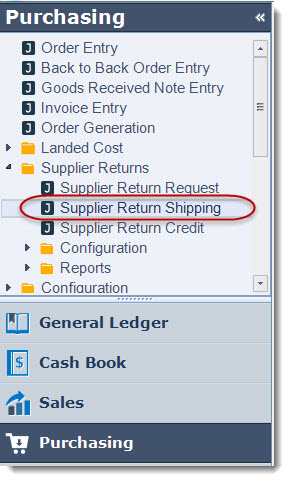
Select Purchasing | Supplier Returns | Supplier Return Shipping from the menu
From the menu ribbon select New

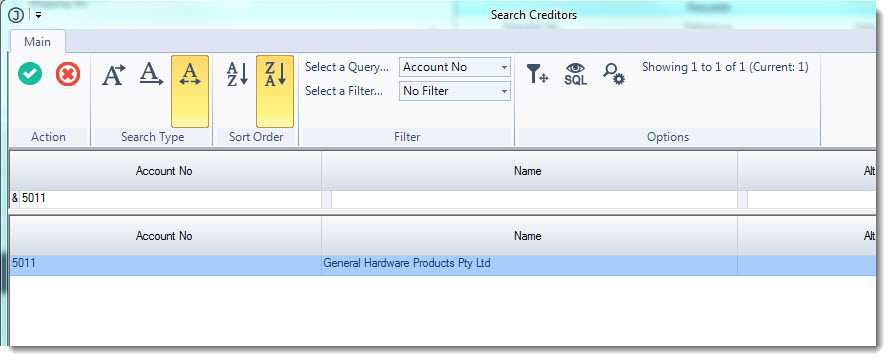
From the Creditors search form selection the supplier you wish to return stock to
Select the Return Code that is applicable to the stock that is being returned, click on the lookup icon next to the ReturnCode field for a listing of available return types.
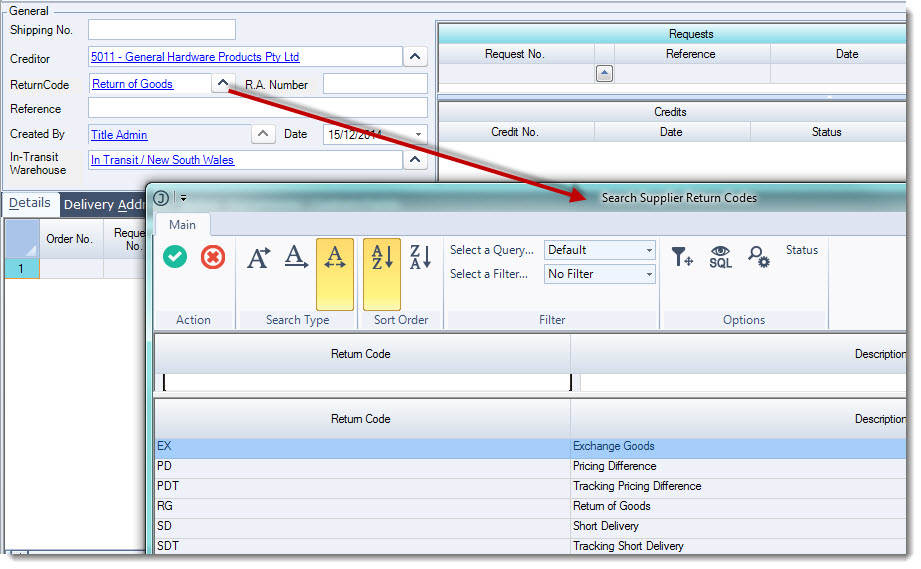
If you have a return authorisation number enter this in the R.A. Number field.
An additional reference can be added in the Reference field.

Start entering your parts to be returned in the Details tab grid
In the Quantity To Ship field enter in the number of units to be returned, this will activate the cost batch selection form
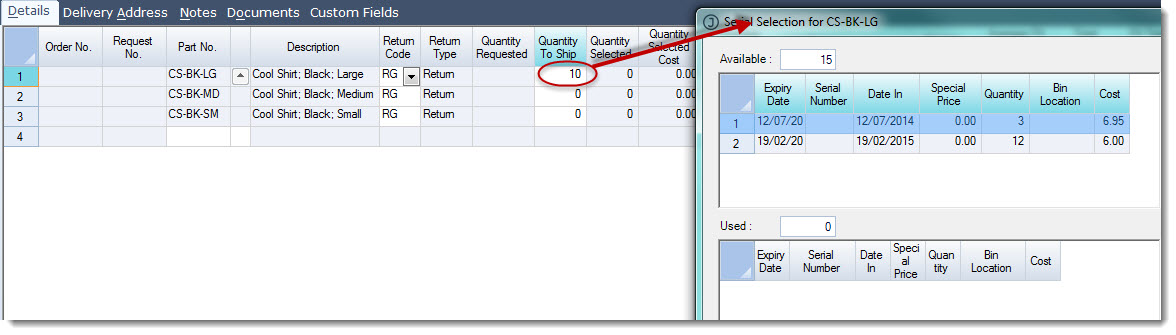
Select the batch the that stock is to be taken from by double clicking on the batch, this will activate the quantity dialog box.
Enter in the quantity to be returned from the selected batch and select OK
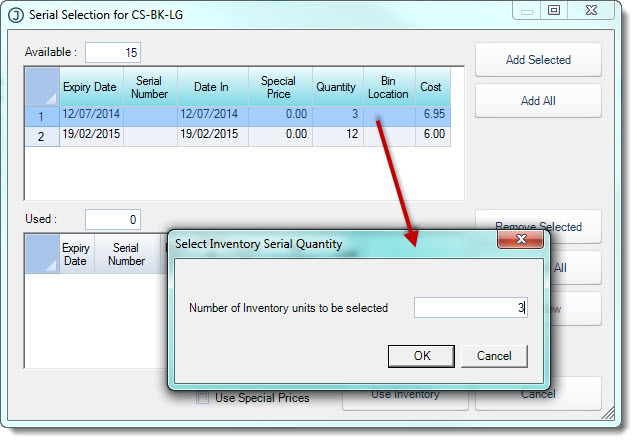
This will add the item to the selection area of your dialog box.
Repeat the above process for the item selected until you have the required return quantity.
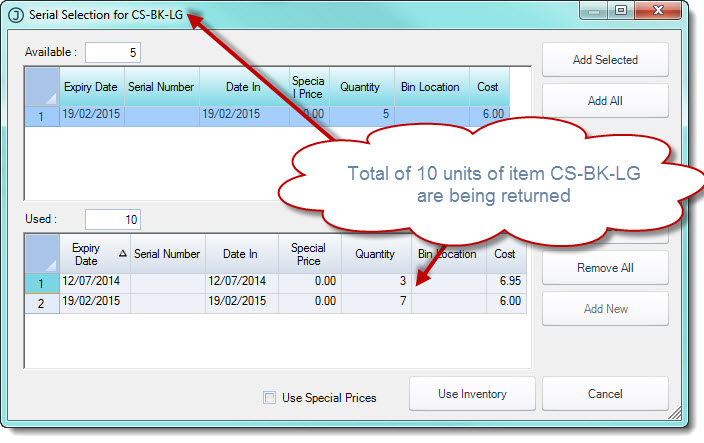
Select Use Inventory to return to the Details tab grid.
Confirm the return value amend the Unit Return Value if required
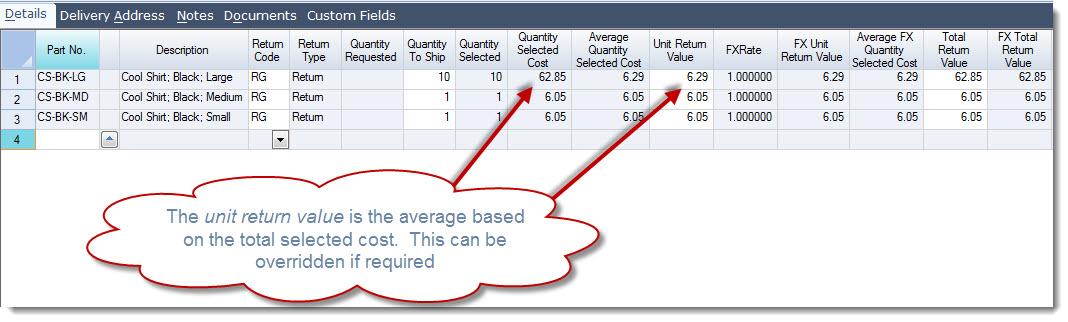
Repeat this process for each item to be returned
The total return value is displayed at the bottom of your form.
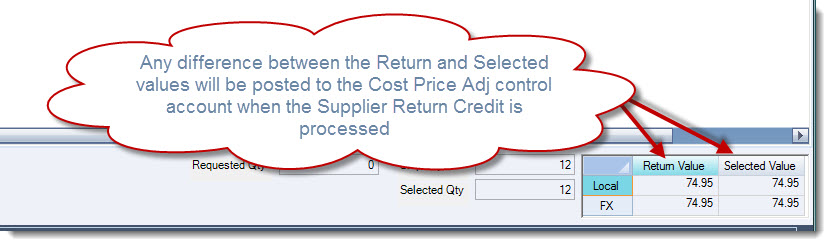
Select Save and Activate when you have completed your shipping document.
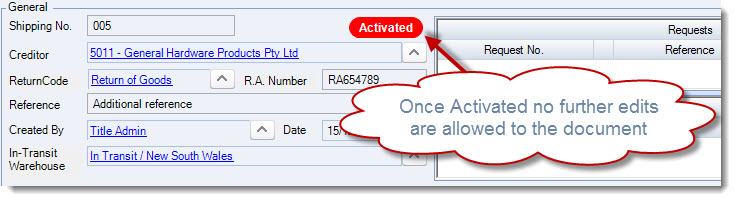
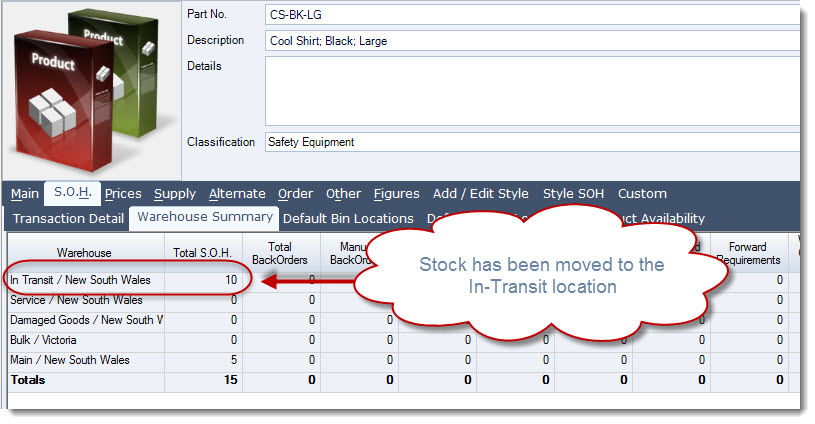
Once you have activated your document the stock will be transferred to the In-Transit location and no further edits can be made to the document.
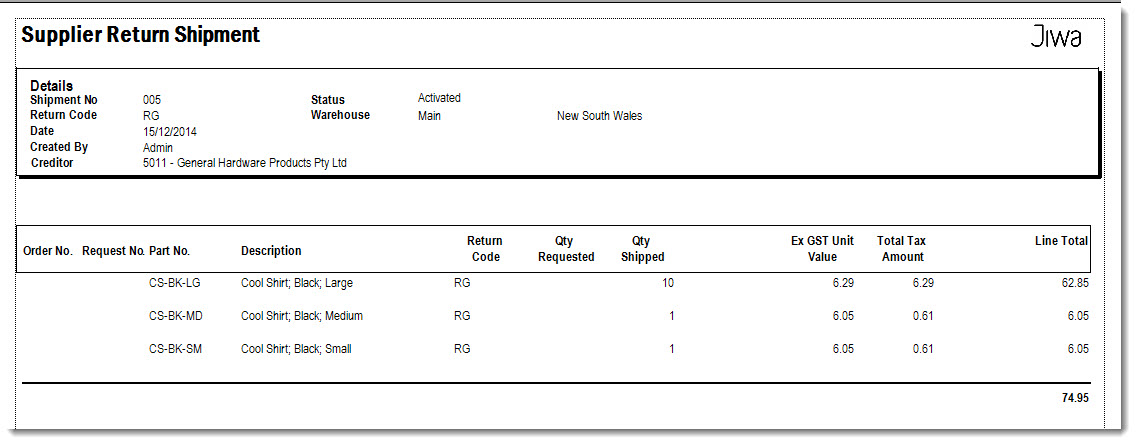
Select Print > Supplier Return Shipment if you require a printed copy of the return shipment.

Supplier Return Shipping - Using Return Request
Here we will be looking at creating a Supplier Return Shipping document based on a Supplier Return Request.
Create your new Supplier Return Shipping document and complete the General information section.

Bring in your request by clicking on the lookup icon next to the Request No field to activate the Supplier Return Requests search form.
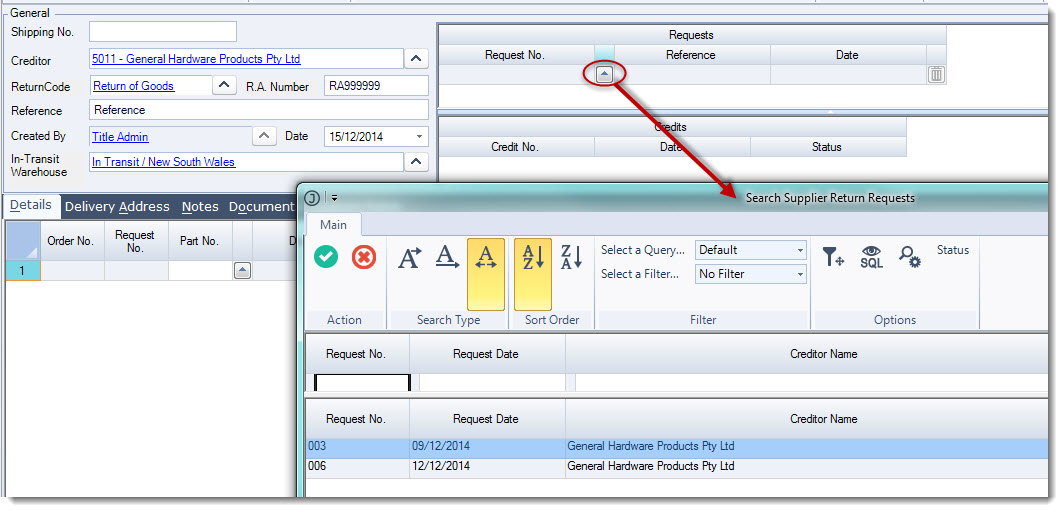
Select the return required and from the menu ribbon click on Select and Close to load the request into your details grid
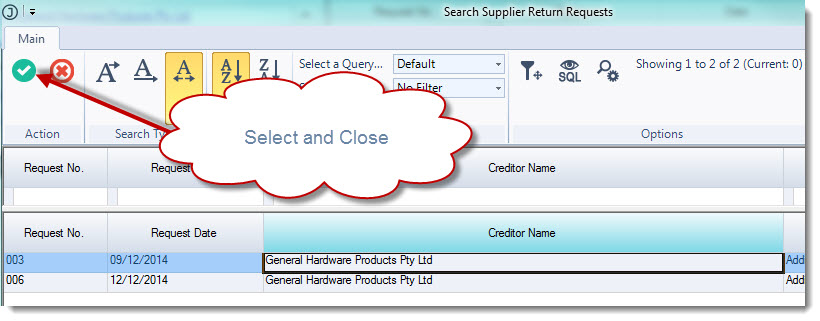
Add additional requests to the shipping document if required.
You will notice that the Requests grid will be populated with the requests that have been added to this shipping document.
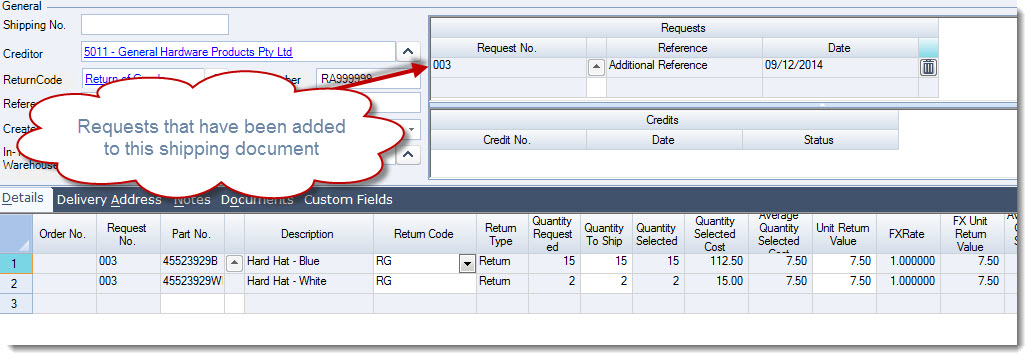
Amend the Quantity to Ship and Unit Return Value as required.
Save and Activate your document when complete.
Video walkthrough