Warehouse transfers using an in-transit location are used when stock needs to be moved out of the source warehouse before it is received into the destination warehouse.
This article explains how to process a warehouse transfer in Jiwa using the In-Transit location, including moving stock into transit and then receiving it into the destination warehouse.
Warehouse Transfers Outwards
We start the transfer process with a Warehouse Transfers Outwards transaction.
Ensure that you are working with the correct physical warehouse.
The logical from location can be changed on a Warehouse Transfer however the physical location cannot.

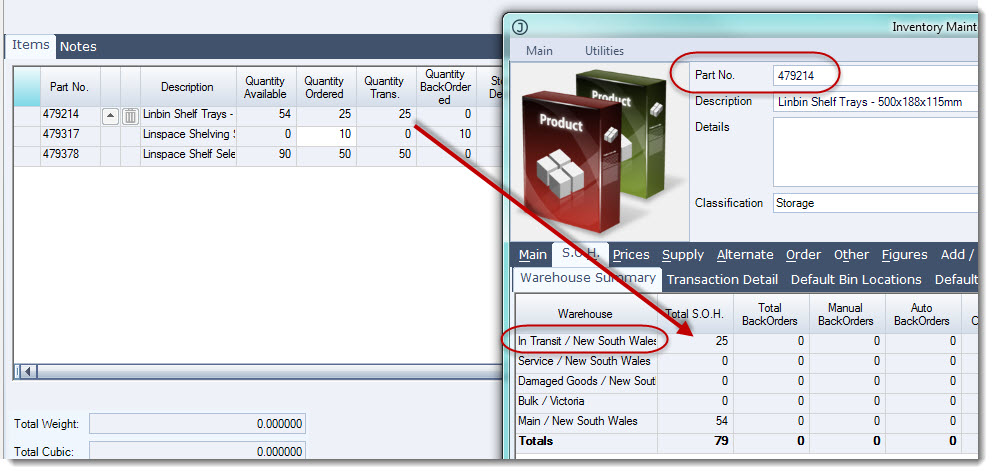
From the menu select Inventory | Warehouse Transfers Outwards
From the menu ribbon select New

Ensure that the Use in Transit check box is ticked. Usually this is ticked by default.
Confirm your logical From Warehouse location
Set your To Warehouse location
Confirm your In Transit location

|
Field |
Description |
|
Quantity Ordered |
Enter in the quantity required by the receiving warehouse |
|
Quantity Trans |
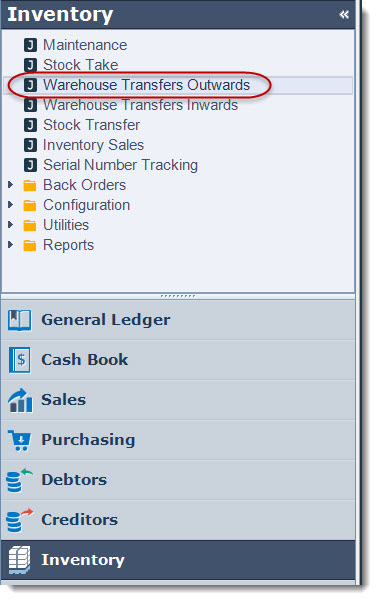
Confirm / enter in the quantity being sent. Stock is put on back order for quantities that cannot be supplied |
Freight and/or Insurance can be added to the transfer by entering the amounts in the freight / insurance fields.
Change the Added Cost Method to Cost Based this will apportion the cost of freight/insurance across the items in the transfer based on the cost price.

Save your transfer
Activate your transfer
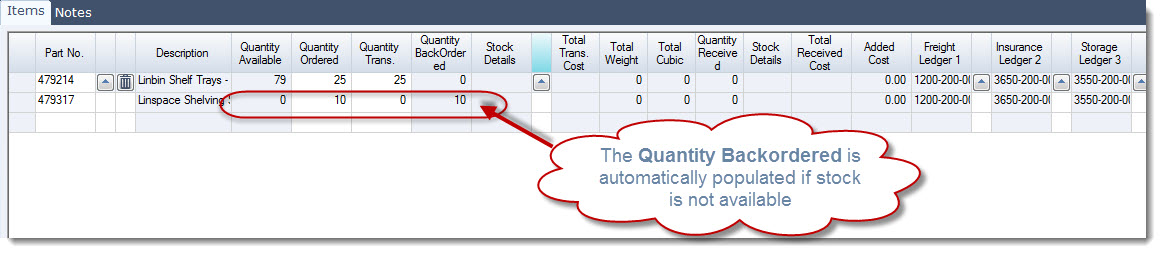
Activating your transfer will move stock out of the sending location and into the In-Transit location and change the status of your transfer to In-Transit
Warehouse Transfers Inwards
Once stock has been received by the receiving or To Warehouse it can be received in.
Ensure that you are connected to the receiving warehouse
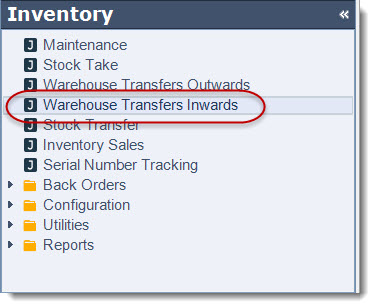
From the menu select Inventory | Warehouse Transfers Inwards
From the menu ribbon select New this will activate the Warehouse Transfers search screen with a listing of all activate warehouse transfers for the current location.
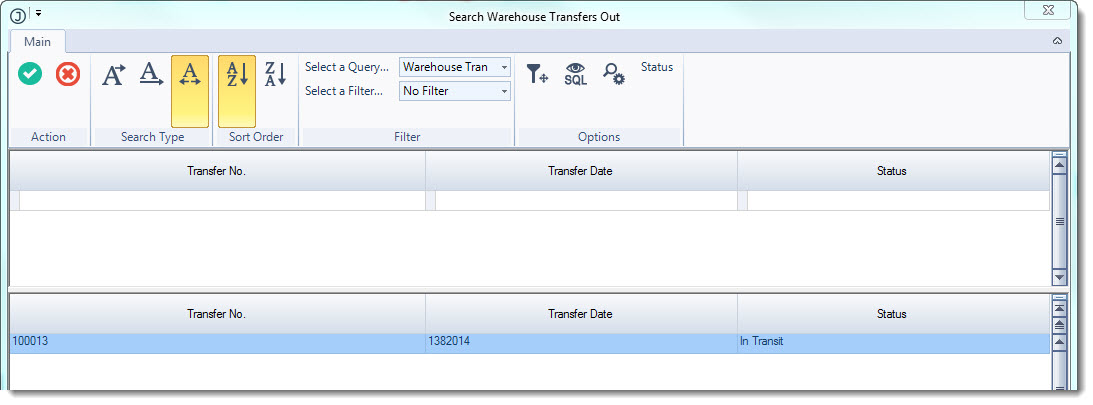
Select the transfer that has been received, this will automatically populate the Transfer In form.
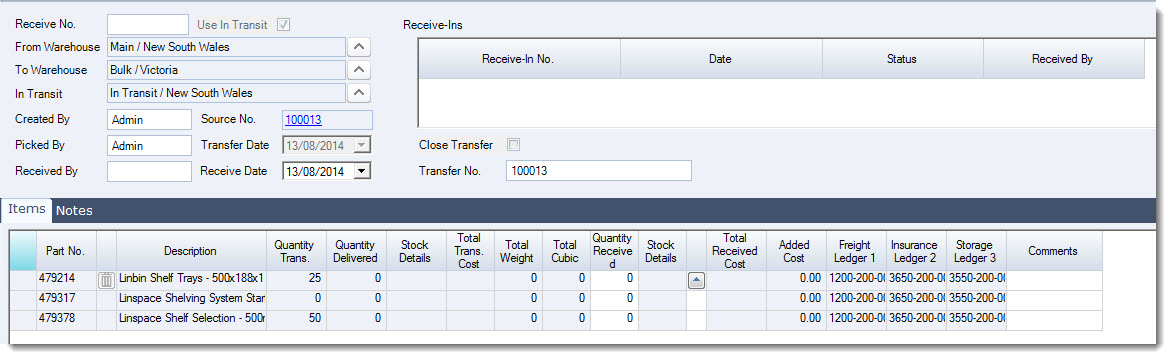
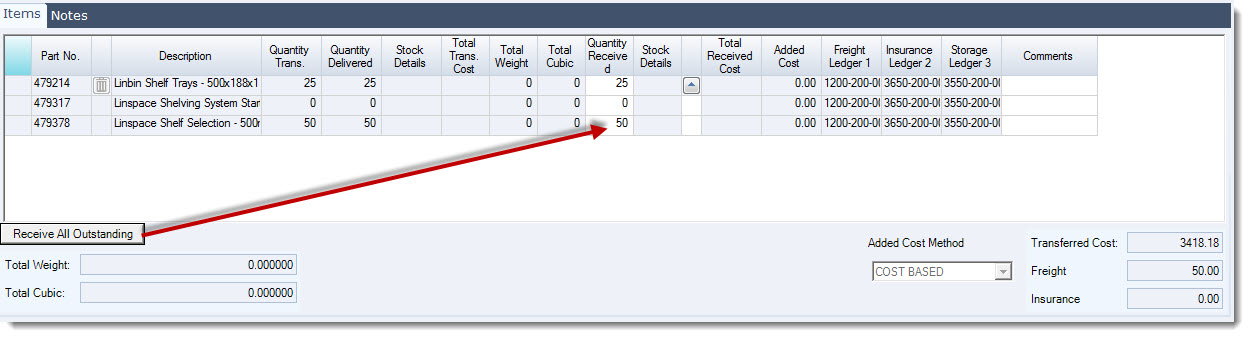
Enter in the quantity received in the Quantity Received field.
If all stock has been received then the Receive All Outstanding icon can be used to automatically update the quantity received field
Select Save to save the transfer In
If stock was damaged during transit that needs to be written off tick the check box Close Transfer this will close the transfer when activated and write off the unreceived stock to the stock write off account.

Select Activate to receive the stock into the warehouse.
This will also change the status of the Transfer In to activated

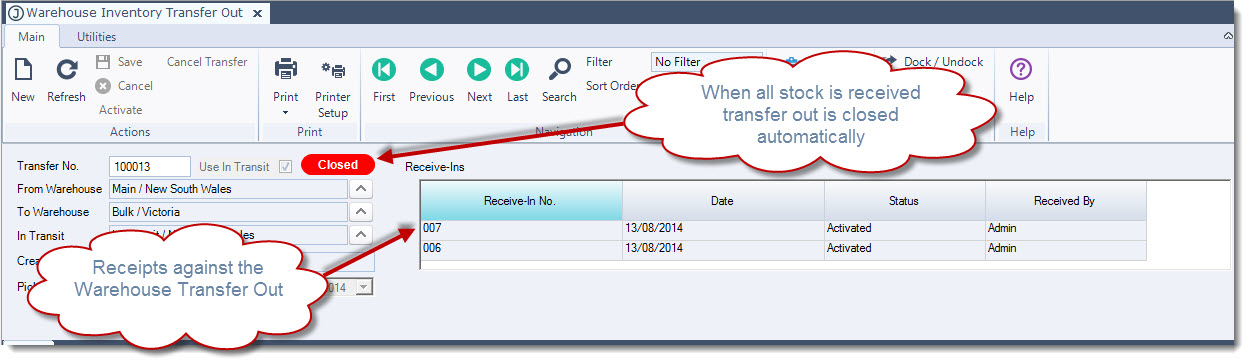
The Warehouse Transfer in will also be recorded against the original Warehouse Transfer Out and close the transfer out if all stock has been received in.