This is the first article in a series that looks at the Service Manager module in Jiwa.
In this article we look at the key elements that should be completed when creating a new service job.
Overview
The Service Manager module is ideal for installation and equipment servicing companies where material and/or labour costs need to be managed for jobs such as installations, service calls and support.
Choosing between Service Manager and Job Costing will be dependent upon what information needs to be captured against a job and how that job will be managed and invoiced out to the customer.
Let's first have a look at the key differences between Service Manager and Job Costing.
|
Function |
Service Manager |
Job Costing |
|
Add non inventory costs to job |
Only physical and non-physical inventory items can be added |
✓ |
|
Billed at inventory value |
✓ |
|
|
Email from Job |
✓ |
|
|
Flexible billing options |
✓ |
|
|
Job Actual v Budget reporting |
|
✓ |
|
Manage prepaid hours (Labour packs) |
✓ |
|
|
Managed through cost centre / stages |
|
✓ |
|
Managed through tasks |
✓ |
|
|
Produce finished goods |
|
✓ |
|
Progress billing |
|
✓ |
|
Purchase order generation |
|
✓ |
|
WIP Reporting |
Stock is moved to Service warehouse rather than WIP |
✓ |
So when is Service Manager a better fit to Job Costing?
Service Manger is best suited to companies that;
-
Only want to track materials and/or labour on jobs,
-
Manage jobs through tasks,
-
Install equipment such as computer hardware/software, air-conditioners,
-
Service equipment,
-
Want to track and manager support calls,
-
Allow customers to purchase support time in advance, and
-
Want to track support staff and technician productivity
Tasks
Service job tasks typically represent a work process so the tasks created against a job would represent the job workflow.
However this is not fixed and how tasks are used against service jobs will be dependent upon your requirements and business processes.
Contact your Jiwa Consultant to discuss your specific requirements.
Tasks provide flexibility in how individual service jobs are managed and billed, they can also be;
-
Assigned to specific staff members,
-
Categorised into departments and categories,
-
Assigned priorities and statuses,
-
Set deadlines, and
-
Billed separately and to a different Debtor if required
Creating a Service Job
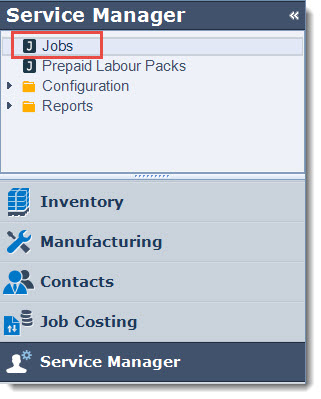
From your menu select Service Manager | Jobs
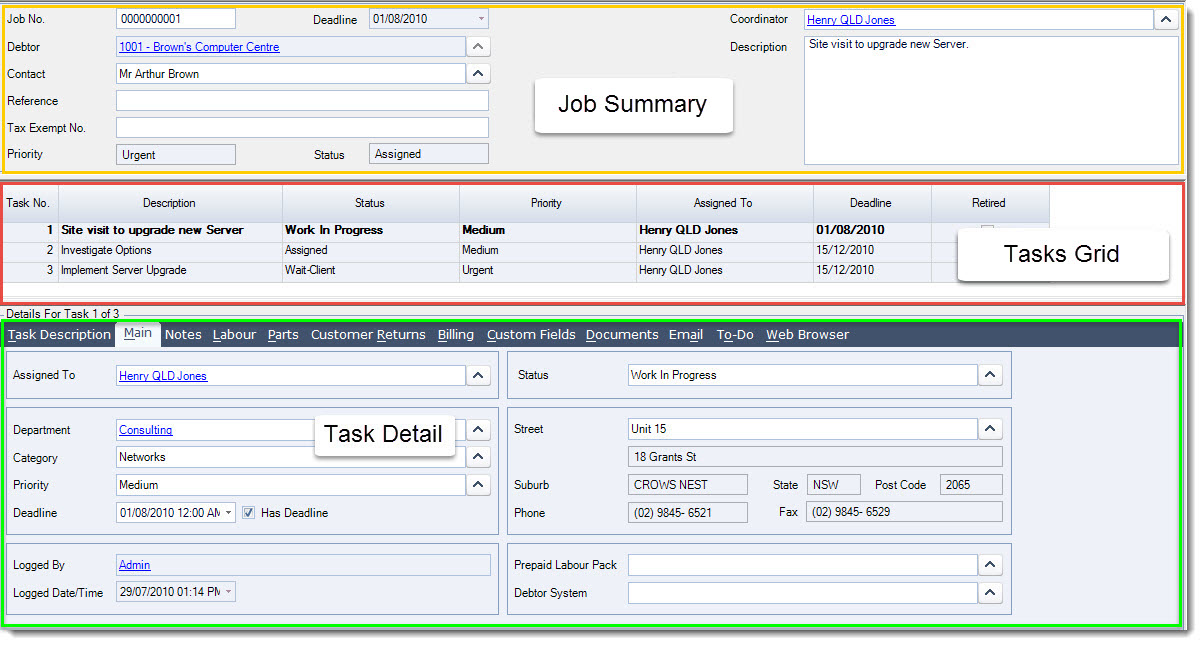
The Service Job form is broken up into three (3) sections;
-
Service Job Summary,
-
Tasks Grid, and
-
Task Detail
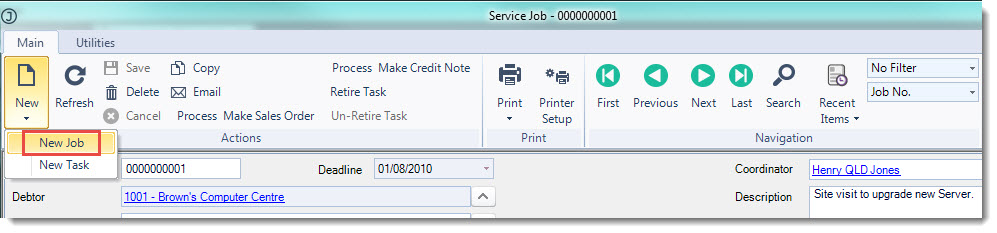
From the menu ribbon select New | New Job
Select your Debtor from the Debtors Search popup

Job Summary
Enter in your service job details the key fields are
-
Contact
-
Coordinator
-
Description

|
Field |
Description |
|
Job No. |
This field is automatically populated with the next service job number when your service job is first saved |
|
Deadline |
This is a read only field and displays the earliest deadline found from the tasks against the job |
|
Debtor |
Debtor (Customer) that the service job relates to Hovering your mouse over this field provided details on how many prepaid labour hours they have left |
|
Contact |
Debtor contact |
|
Reference |
Reference field that can be used to enter in the customer order number if required or internal reference |
|
Tax Exempt No. |
Value entered into this field will set the GST rate on all unprocessed labour and part lines to GST Free and this rate will be applied to all new lines added to the job. If the Debtor has a tax exempt number then this number from the Debtor master file will be pulled into this field. Please contact your Jiwa consultant for further information on this feature |
|
Priority |
This field is a read only field and displays the overall job priority based on the highest priority (lowest response time) found from the tasks against the job |
|
Status |
This field is a read only field and displays the overall job status based on the status with the lowest item number found from the tasks against the job |
|
Coordinator |
Service job manager / coordinator |
|
Description |
Service job description |
Tasks Grid
This section of the service job gives you an overview of the tasks that have been created against the active job.
This detail is ready only and task information is updated as the task details are updated.
The active or selected task appears in Bold

Task Details
Let's have a look at the key tabs that should be completed when creating a new task.
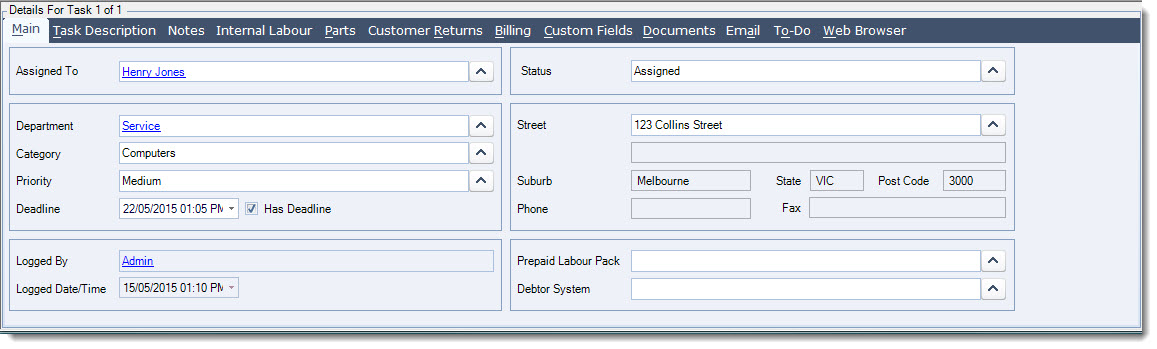
Main Tab
|
Field |
Description |
|
Assigned To |
Select the Staff member assigned to the task Right clicking over the field allows the user default to be set for all subsequent tasks |
|
Department |
Departments allow you to classify your task. If this level of task classification is not required a default department can be set-up or the field can be left blank. Right clicking over the field allows the user default to be set for all subsequent tasks |
|
Category |
Categories are a subset of a Department providing a narrower classification of the task. If this level of task classification is not required a default can be set-up or the field can be left blank Right clicking over the field allows the user default to be set for all subsequent tasks |
|
Priority |
Set the task priority Right clicking over the field allows the user default to be set for all subsequent tasks |
|
Deadline |
This field is only editable if the Has Deadline check box is ticked |
|
Has Deadline |
Check this box to set the task deadline |
|
Logged By |
This is a read only field which is updated automatically with the logged in users name that has created the task. |
|
Logged Date/Time |
This is a read only field providing a date/time stamp of when the task was created |
|
Status |
This is a manually maintained field that allows you to set the status of the task Right clicking over the field allows the user default to be set for all subsequent tasks |
|
Address Details |
Debtor delivery/mailing address applicable to the task, the search popup will display all available address that have been set-up against the Debtor account. Note: The address fields are read only from this form. Maintaining or creating new addresses can only be done from the Debtor Maintenance form. |
|
Prepaid Labour Pack |
Only populate this field if the hours assigned to the task are to be deducted from a special pack of prepaid labour hours. If this field is left blank than labour on the task will be deducted from the available labour packs on a first in first out (FIFO) basis. Right clicking over this field allows you to clear out the content of the field |
|
Debtor System |
Select the Debtor System that is applicable to this task. This field is left blank if Debtor Systems are not used Right clicking over this field allows you to clear out the content of the field Please contact your Jiwa consultant for further information on Debtor Systems |
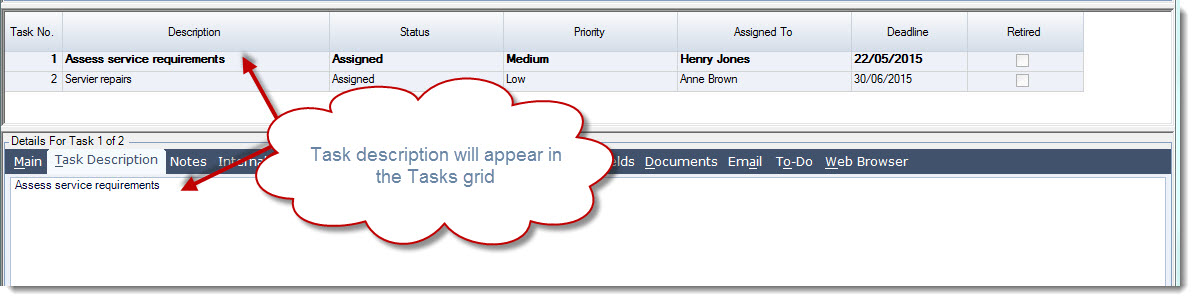
Task Description
Enter in a description for the task, the description entered in this tab will appear in the tasks grid.
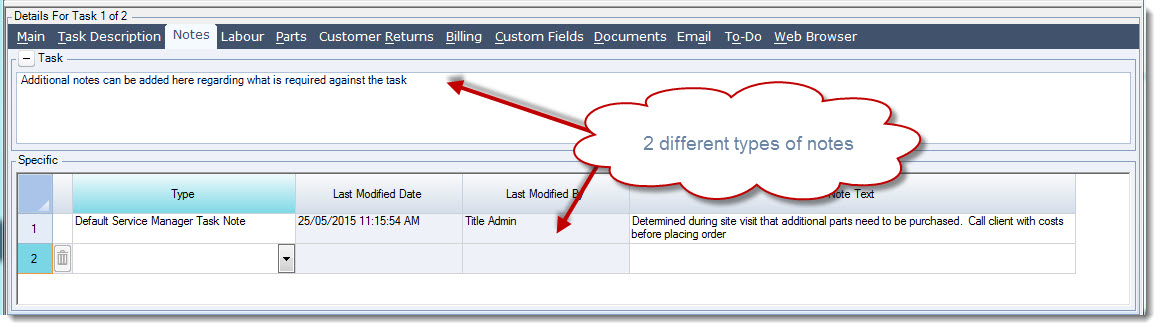
Notes
There are 2 types of notes on this tab
Task notes is a large free text field that allows you to enter additional information about the task.
Specific notes are more structured where the note note time/date and entered by is captured. Specific notes can also be categorised by type.
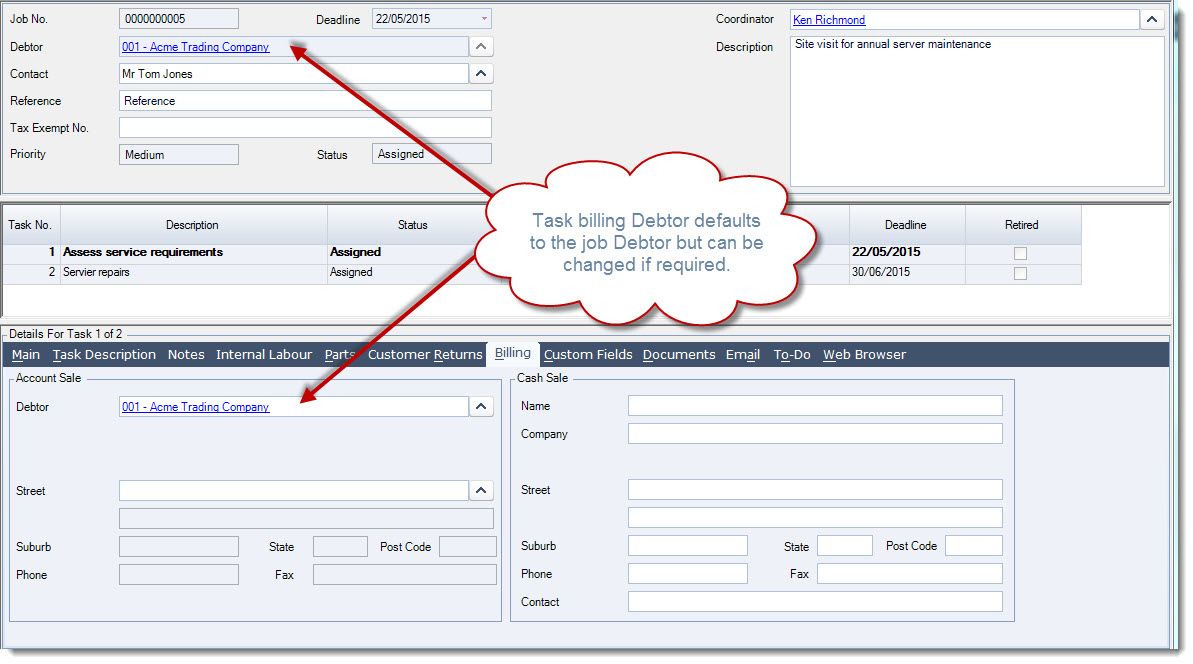
Billing
Confirm the tasks billing details. The Debtor account will default to the Debtor selected against the job, however this can be changed to another Debtor account if required.
This is handy in cases where the parts used on a task will be invoiced out to another Debtor account.
The Other Tabs
|
Tab |
Description |
|
Labour |
Task labour charges are added to this tab. |
|
Parts |
Parts used on the task are added to this tab. |
|
Customer Returns |
Items returned by the Debtor (Customer) are added to this tab. Jiwa uses the parts on this tab to generate credit notes |
|
Custom Fields |
Additional task information captured in custom fields are maintained in this tab |
|
Documents |
Documents specific to the service job task can be added to this grid by either attaching the document or using the Windows drag and drop function to add documents to this tab. These documents are stored in the Jiwa database. Documents can be extracted, opened or emailed from this tab. |
|
|
History of all emails sent specific to the service job task can be viewed from this tab |
|
To-Do |
Action items specific to the task are added on this tab |
|
Web Browser |
Using a plugin the web browser tab can be set to display a web page that may vary per job/task. |
From the menu ribbon select Save to record your new service job.
Adding Tasks
When a new service job is created the first task is automatically created for you.
To add additional tasks to your service job from the menu ribbon select New | New Task and complete the task details.
