In this article we will be looking at receiving stock against a purchase order using the Goods Received Note Entry form in Jiwa also referred to as a GRN.
Before proceeding ensure that you have reviewed the following articles.
Good Received Note Entry Form
The Goods Received Note or GRN entry form is used to receive;
-
Inventory and non inventory items against purchase orders raised locally,
-
Inventory and non inventory items not ordered through a purchase order, and
-
Inventory and non inventory items against a warehouse purchase order
To receive stock from overseas suppliers or to calculate a landed cost for local purchases please refer to the article Jiwa Landed Costing - Shipments.
The GRN can be created via the purchase order itself or from the menu option Goods Received Note Entry.
Both methods are described below;
Create GRN from Purchase Order
Locate the purchase order you wish to receive stock against
From the menu ribbon select Create GRN

The GRN form is automatically populated for you, additional orders can be added to the GRN if required.

Create GRN from Goods Received Note Entry Menu
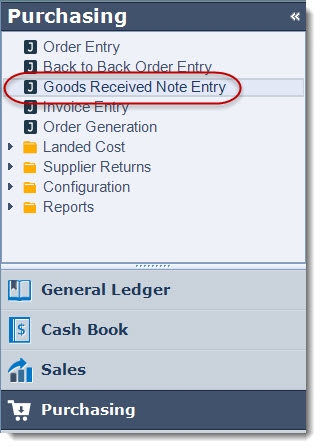
From the menu select Purchasing | Goods Received Note Entry
Ensure you are working in the correct warehouse From the menu ribbon select New

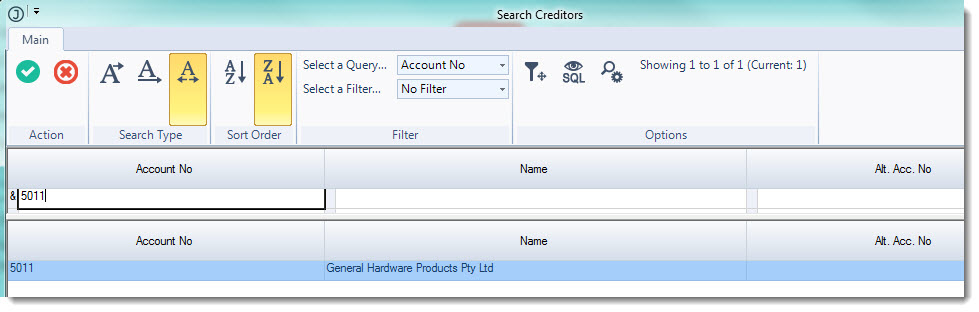
Select the supplier from the Creditors Search popup
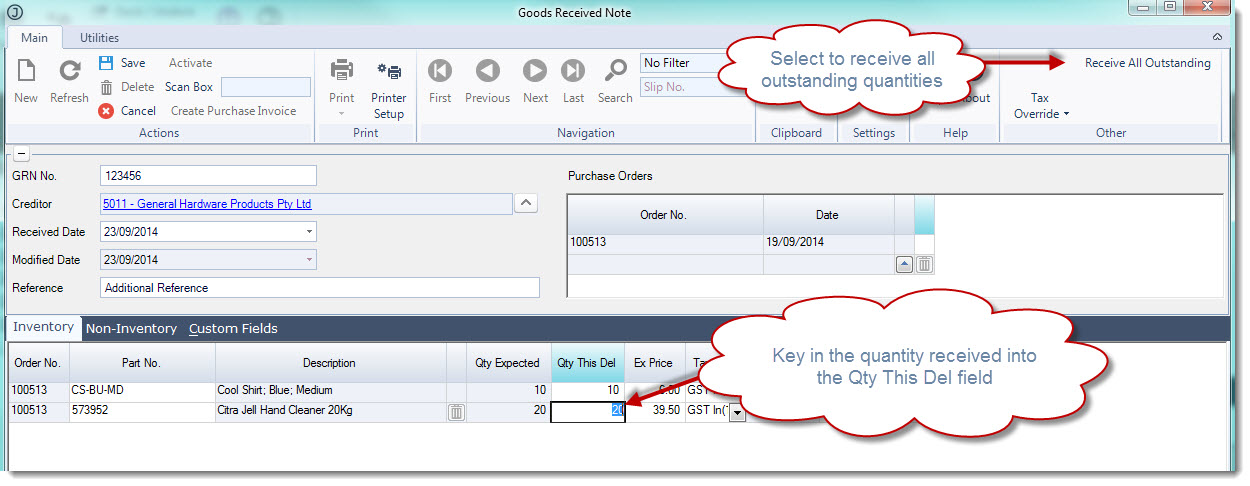
In the GRN No field enter in a receipt number.

|
Field |
Description |
|
GRN No. |
The GRN number can be manually populated, alternatively if left blank Jiwa will automatically populate this field with the next available number as per your System Number setting. |
|
Received Date |
The system will default to the login date but can be changed if required. This date is used as the stock received date in the Stock ledger as well as the date applied to the journal set that updates the General Ledger |
|
Reference |
Additional reference field |
|
Purchase Orders Grid |
Purchase orders Received against this GRN. Removing a purchase order from this grid will also remove will remove all associated lines from the Inventory and Non-Inventory grids |
Adding Purchase Orders to the GRN
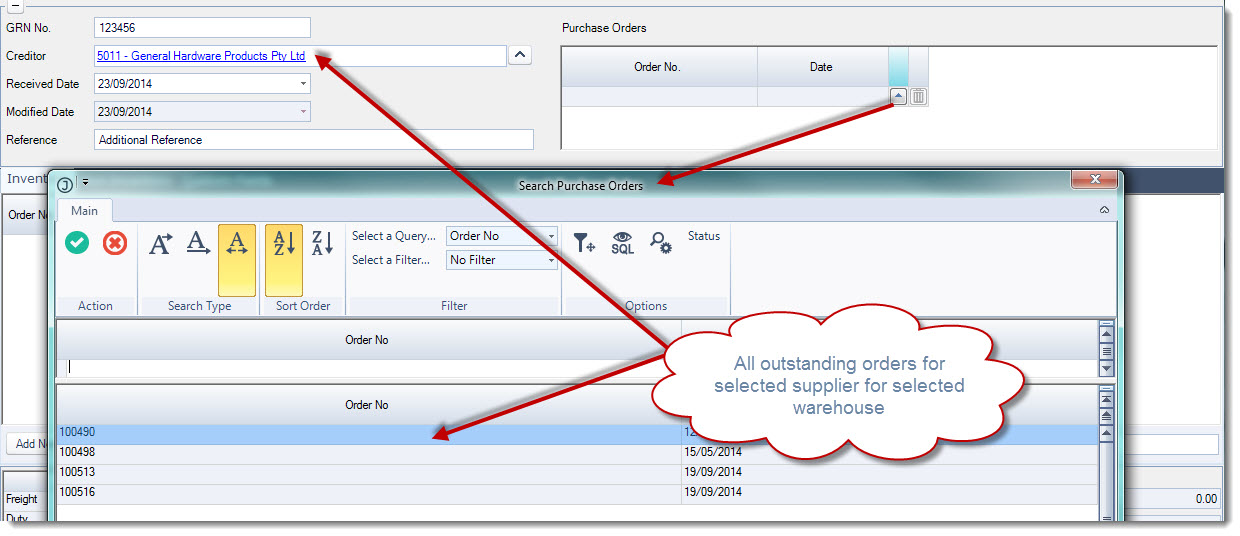
From the Purchase Orders grid click on the lookup icon to activate the Purchase Orders Search form.
The search form will display all the outstanding purchase orders for the selected supplier for the selected warehouse.
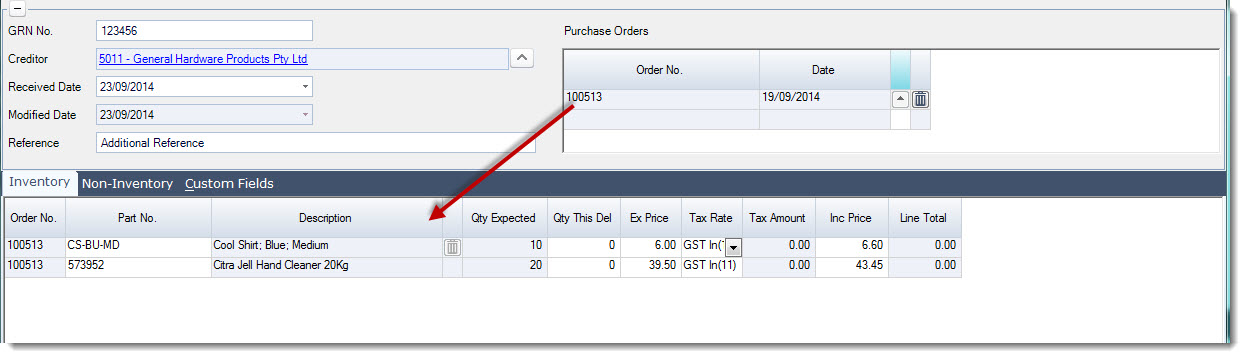
Select the purchase order that goods are being received against.
This will add all the lines from the purchase order to the Inventory grid
|
Tabs |
Description |
|
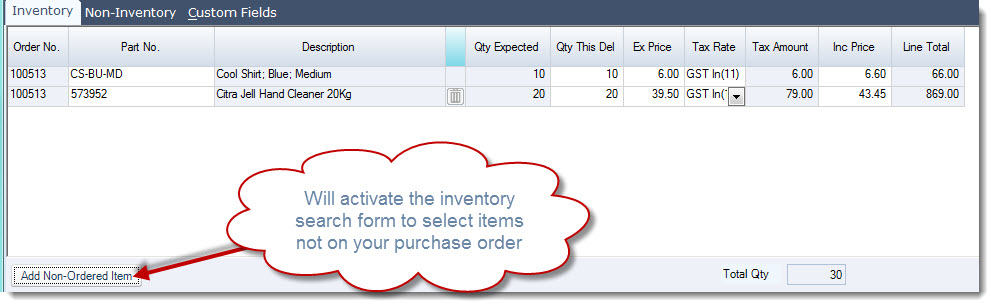
Inventory |
This grid is populated with all the inventory items from the selected purchase order/(s) displaying the quantity outstanding on the purchase order. Non ordered inventory items can be added to this grid using the Add Non-Ordered Item button |
|
Non-Inventory |
This grid is populated with all non-inventory items from the selected purchase order/(s) displaying the quantity outstanding on the purchase order. Non ordered non-inventory items can be added to this grid using the Add Non-Ordered Item button |
|
Custom Fields |
This grid is only applicable if you have additional data that needs to be captured against the GRN and custom fields have been created specifically to meet these requirements |
To add additional purchase orders to the GRN repeat the above process.
Receiving Stock
If all stock is being received against the selected purchase order/(s) simply click on the Receive All Outstanding option from the menu ribbon.
Alternatively, if only part of the order is being received manually key in the quantity received into the Qty This Del field.
Amend the unit price if required.
Save your changes.
To add non-ordered items to your GRN click on the Add Non-Ordered Item at the bottom of the Inventory grid.
Add freight and charges applicable to the GRN

Confirm the GRN total value

Save and Activate

Once the GRN is activated the stock ledger is updated and a journal set created to update the General Ledger.