In this article we will be looking at how to create and maintain Classification pricing elements in Jiwa.
Before proceeding please ensure that you have reviewed our articles on special pricing in particular Jiwa Special Pricing - Price Schemes.
Overview
The Classification Matrix is used when creating pricing elements around Debtor and/or Inventory classifications. Prices apply to all inventory items contained within the selected Inventory classification, this is in contrast to the Debtor Specific, Debtor Classification and Debtor Price Group matrices which are inventory item specific.
Sell Prices Form
The Sell Prices form was introduced in Jiwa version 7.0.115, this form provides a central location were all 'Sell' pricing information can be viewed and updated from.
The Classification Matrix can only be maintained from this form.
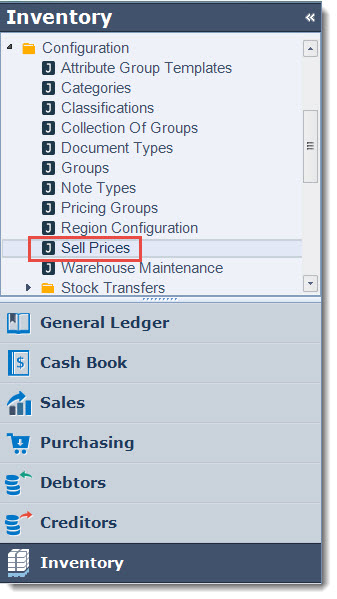
To access the form from the Inventory module select Configuration | Sell Prices
Move to the Classification tab
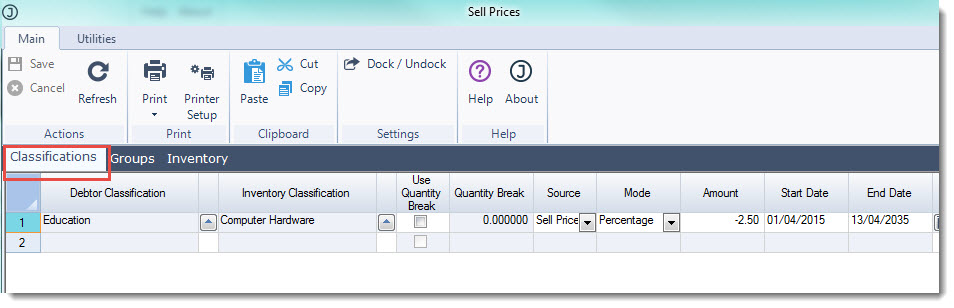
Classification pricing elements are created, updated and deleted from the grid.
When setting up your Classification Matrix the following should be taken into consideration.
-
You cannot leave both the Debtor and Inventory Classification fields blank, at least one of these fields must be populated
-
The Classification pricing matrix works best with the mode being set to Percentage or the range of products have the same selling price. Pricing elements contained in this matrix are not inventory item specific.
|
Field |
Description |
|
Debtor Classification |
Select the Debtor Classification that the pricing element is applicable to. If the field is left blank then it is implied that the price element is applicable to all Debtors. |
|
Inventory Classification |
Select the Inventory Classification that the pricing element is applicable to. If the field is left blank then it is implied that the price element is applicable to all Inventory items. |
|
Use Qty Break |
Tick this option if the discounted price is based on a quantity break |
|
Quantity Break |
This field is enabled when the Use Qty Break field is ticked. Enter in the quantity break that is applicable. If tiered quantity breaks are required create a new line for each quantity break applicable |
|
Source |
Which price is to be used when calculating the new selling price. This field is only applicable when applying a percentage or actual amount discount. The options available include Sell Price, Last Cost, RRP and Sell Prices 1 - 10 (P1-P10) |
|
Mode |
The mode determines how the sell price is calculated, the available options are;
Recommended mode is percentage. |
|
Amount |
The value entered into this field is used to calculate the sell price that will be applied on the sales order, quote or credit note. When entering in a percentage or actual discount amount the value entered into this field must be entered in as a negative value. For example 10% discount or $25 discount is entered as -10.0, -25.0 respectively. When basing your Classification price on the Last Cost + margin then the value entered into this field must be entered in as a positive value. For example 25% or $50 dollar increase is entered as 25.0, 50.0 respectively. When using the mode None the value entered into this field is the new price |
|
Start Date |
This is the date that the specific price is to apply from. The field automatically defaults to the current login date however can be overridden if required. |
|
End Date |
This is the date that the specific price is to end. The field automatically defaults to the 20 years from the login date however can be overridden if required. |
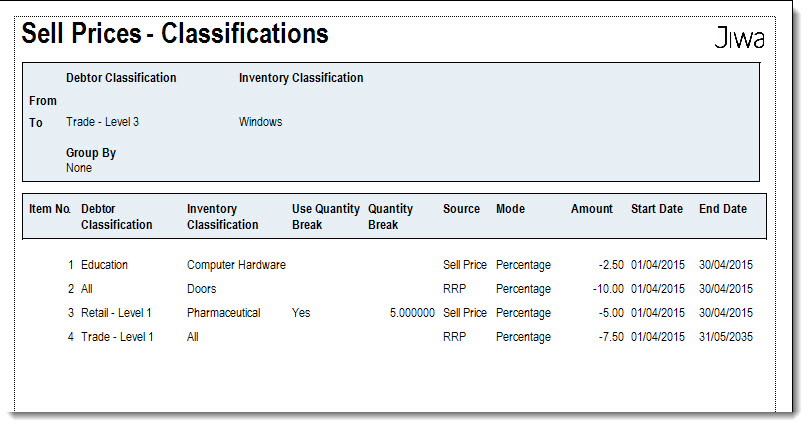
The following example demonstrates a few different ways in which Classification price elements can be set up.
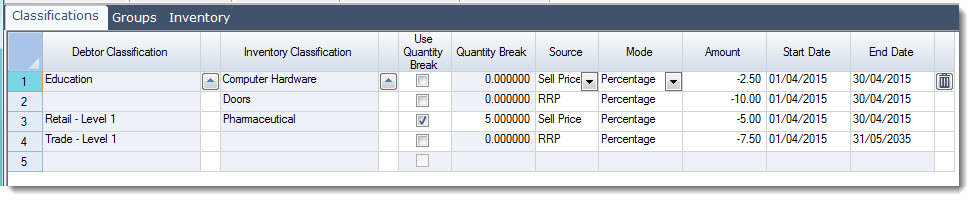
In this example pricing element 2 for Doors is applicable to all Debtors that purchase inventory items classified as doors because the Debtor Classification field has been left blank.
Whereas pricing element 4 is applicable to all inventory items that are purchased by Debtors classified as Trade - Level 1 as the Inventory Classification field has been left blank.
To save any changes made in this form click on Save from the menu ribbon.
The contents of the grid can be copied to Excel by selecting the Select All option
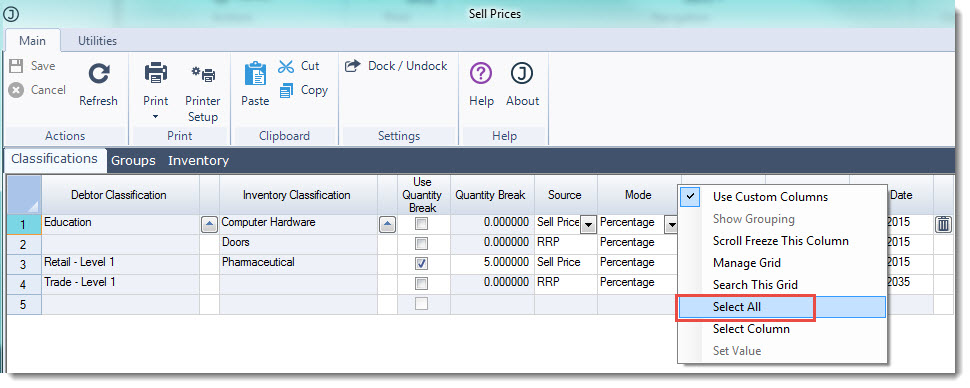
Pressing Ctrl + C on your keyboard then pasting into Excel.
Alternatively a report is available from the menu ribbon select Print | Inventory Specific, Classifications
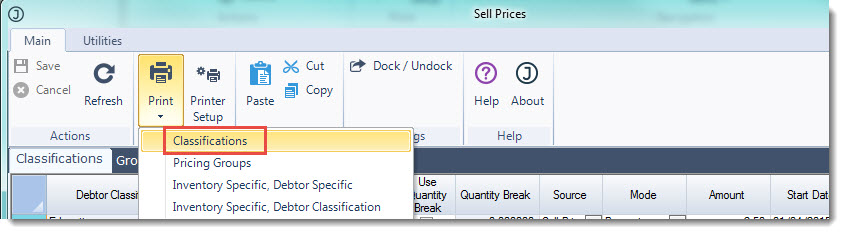
This report is also available from Inventory | Reports | Sell Prices - Inventory Specific, Classifications