
Credit notes are used in the Opal Logic POS form to reverse or adjust a previous sale, such as where goods are returned, an item was entered incorrectly, or a customer requires a refund or account credit.
This article explains how to create a credit note through the Opal Logic POS form. The same process applies to both cash and account sales, although the way the credit is settled will depend on the original transaction and customer payment method.
Before processing the credit note, confirm the items, quantities, pricing, and customer details being credited.
Credit Note from Existing Sales Order
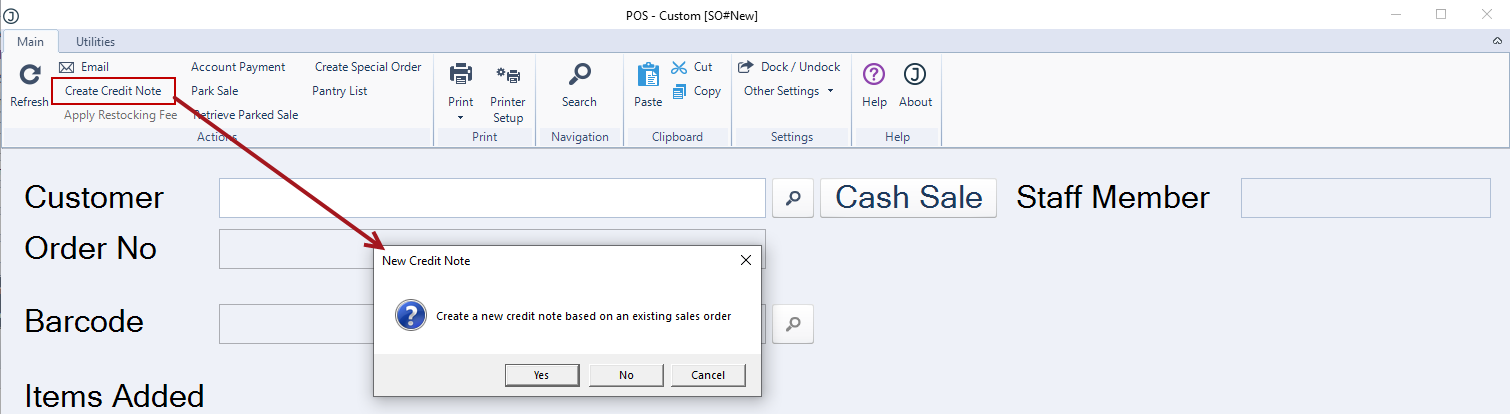
From the menu ribbon select Create Credit Note.
Select Yes at the New Credit Note prompt.
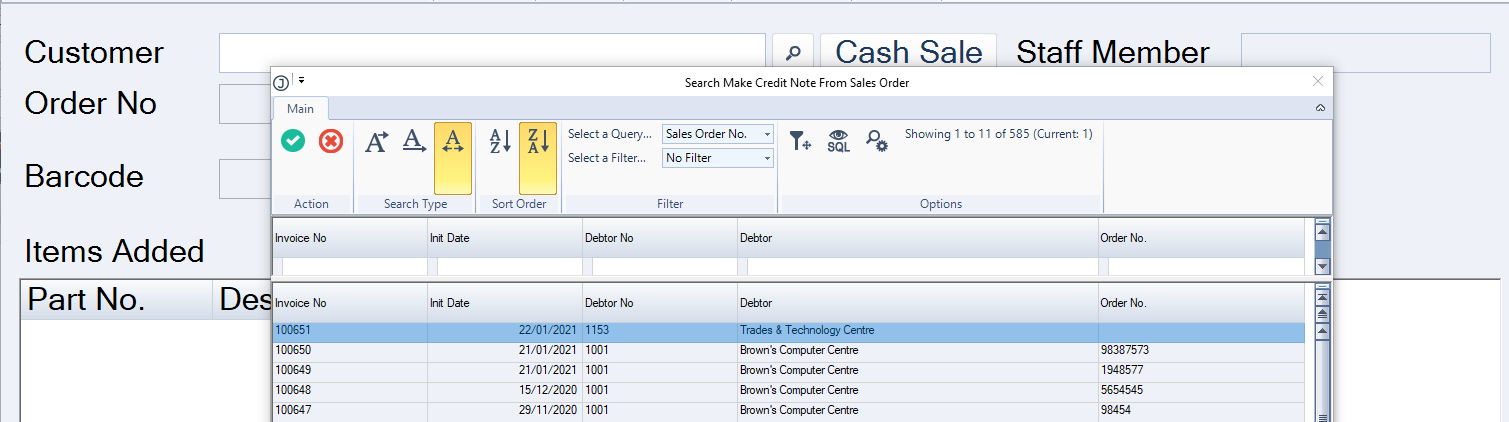
Select the invoice on which the credit note is to be based.
Select the applicable Credit Reason and update the line details as required.
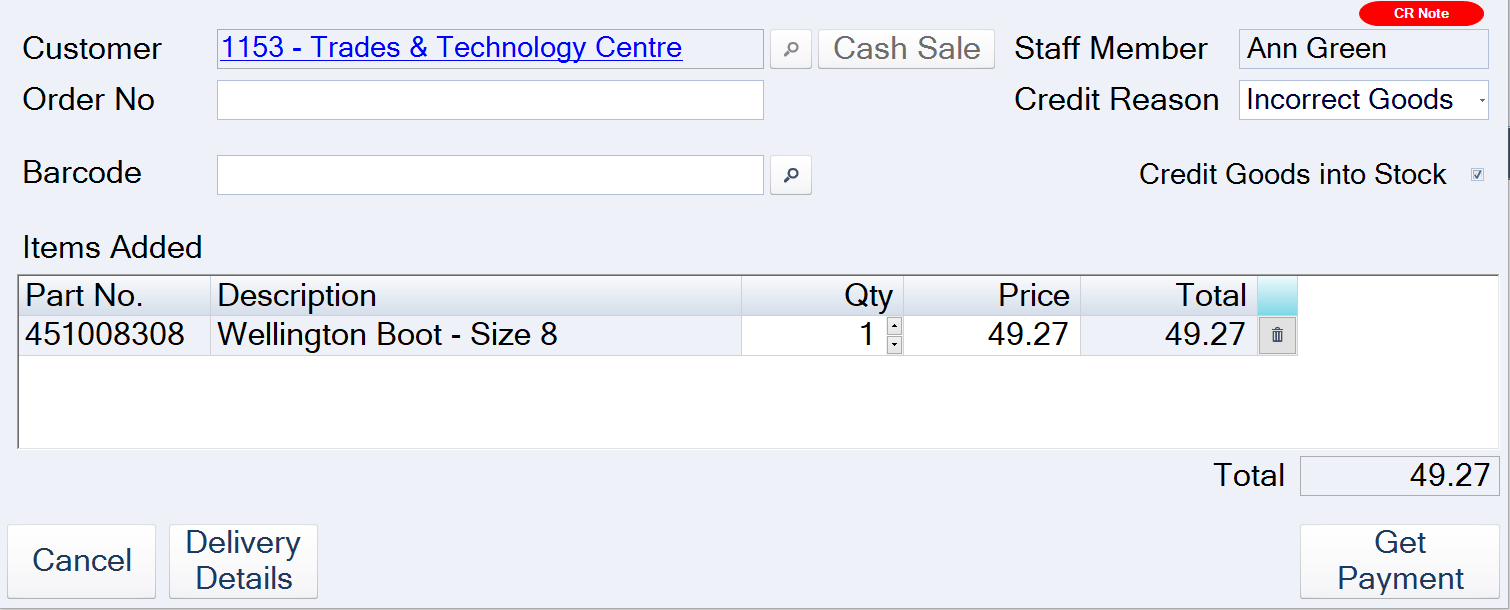
Once you have confirmed the credit note details press the Get Payment button.
If the charging of a restocking fee has been enabled the following popup will display.
In this example we will apply a restocking fee to the credit note.
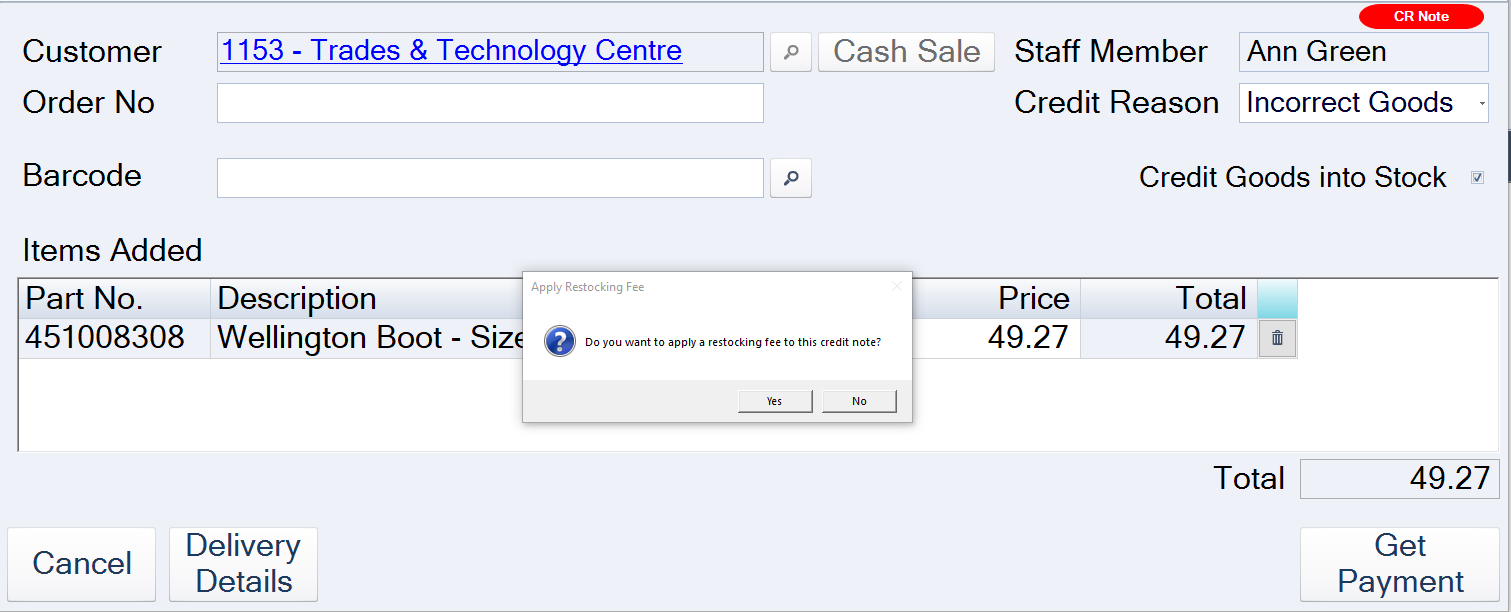
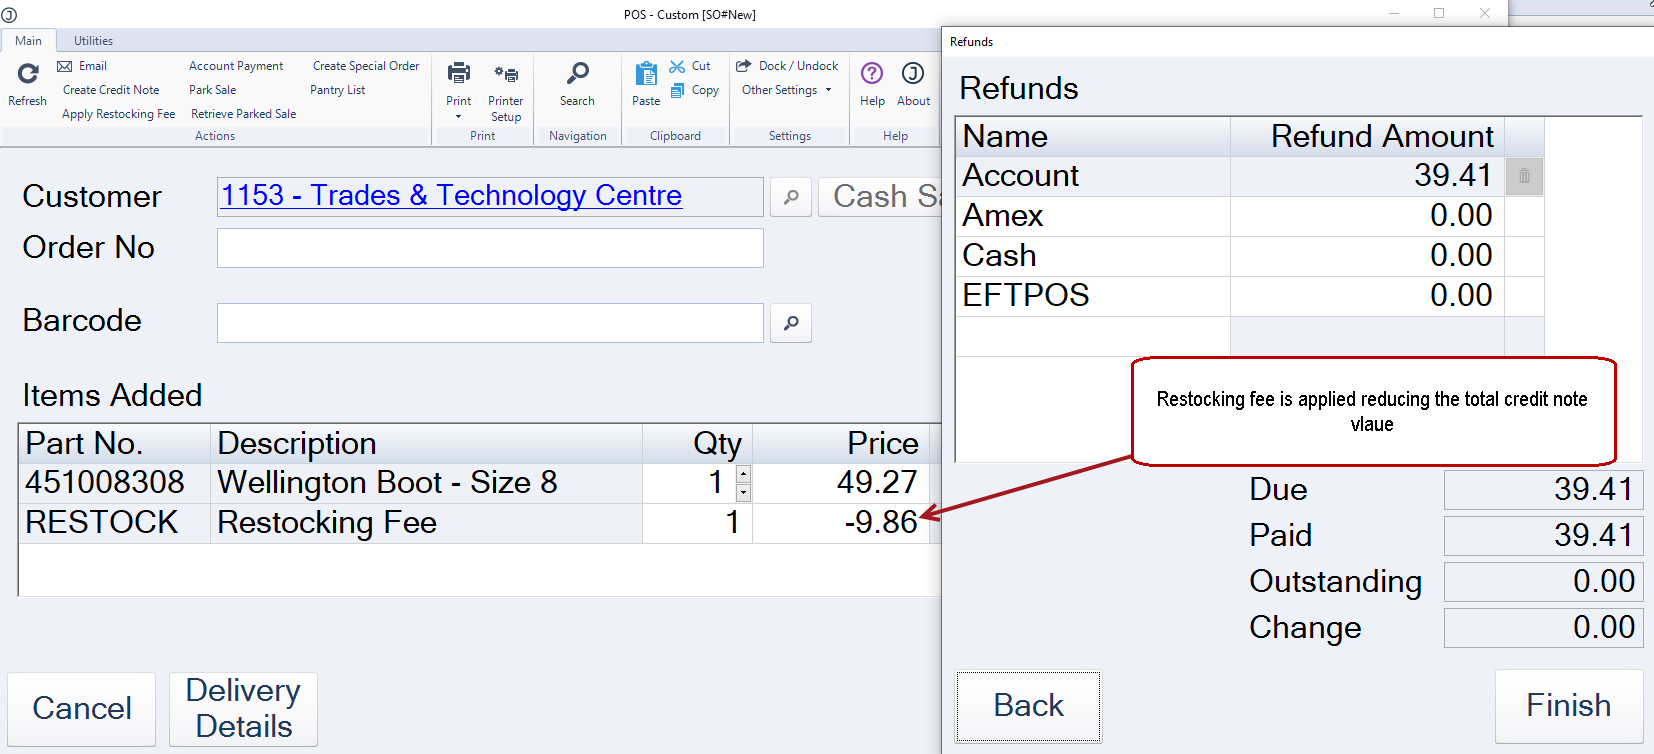
The restocking fee is applied to the sale and the Refund form is displayed.
Select required refund method and complete the credit note.
Note: If the restocking fee has been applied in error click the back button on the refund popup and delete or adjust the restocking fee value before finalising the credit note.
Manual Credit Notes
Manual credit notes are created in the same way as those created from an existing invoice with the exception that, the user will select No at the New Credit Note prompt and parts are added manually to the credit note.