In this article we will look at how to generate Creditor ABA files and print cheques using the EFT / Cheque Payments form in Jiwa.
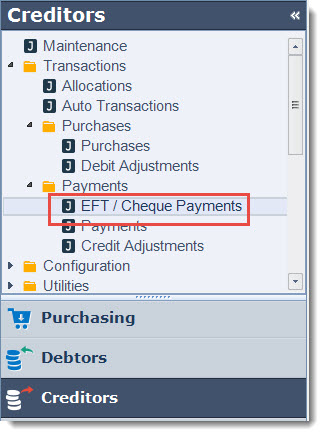
From the Creditors menu select Transactions | Payments | EFT / Cheque Payments.
Setting Up Banking Details
Before an ABA file can be created we want to make sure that our banking details have been set-up in the form.
From the menu ribbon select Utilities | Other | Set Bank Details

This will open the Cheque Numbers form where we can enter in our Bank Account details that will be used in the ABA file. The next cheque number is also set in this form.

Field Definitions
|
Field |
Description |
|
Bank Account |
Ledger bank account |
|
Default |
Default bank account. This is the default account that is used when creating new EFT/Cheque payment batches. This account can be changed if required. |
|
Next Cheque No. |
The next cheque number when creating cheque payment batches, this field is automatically updated when the cheque batch is activated. |
|
Fees Ledger |
General Ledger account that will be posted to for bank charges that are applied to a payment or payments. |
|
Bank Name |
Bank name |
|
BSBN |
Bank BSB number. This number is used in the creation of the ABA file. |
|
Account Number |
Bank account number. This number is used in the creation of the ABA file. |
|
Account Name |
Bank account name. This name is used in the creation of the ABA file |
|
EFT Bank Code |
The approved Financial Institution abbreviation for example Westpac's is WBC and is included in the creation of the ABA file. If you are unsure check with your bank. |
|
User Identification Number |
This is the direct entry user identification number which is also included in the creation of the ABA file. |
EFT Payments
Before you begin creating ABA files you may want to review your Creditor maintenance record to ensure that the EFT Reference is set up as required.
The EFT Reference that is displayed on the Creditors bank statement is taken from the Alternate Account No. field in Creditor maintenance.
When this field is left blank the EFT Payment batch number is then used as the EFT Reference.

Note: If you use the Alternate Account No. field in Creditor maintenance for other purposes then the plugin that creates the ABA file can be updated to use another reference field, please contact your Jiwa Consultant to discuss your specific requirements.
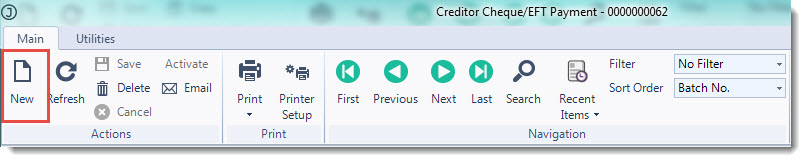
From the menu ribbon select New to create a new payment batch
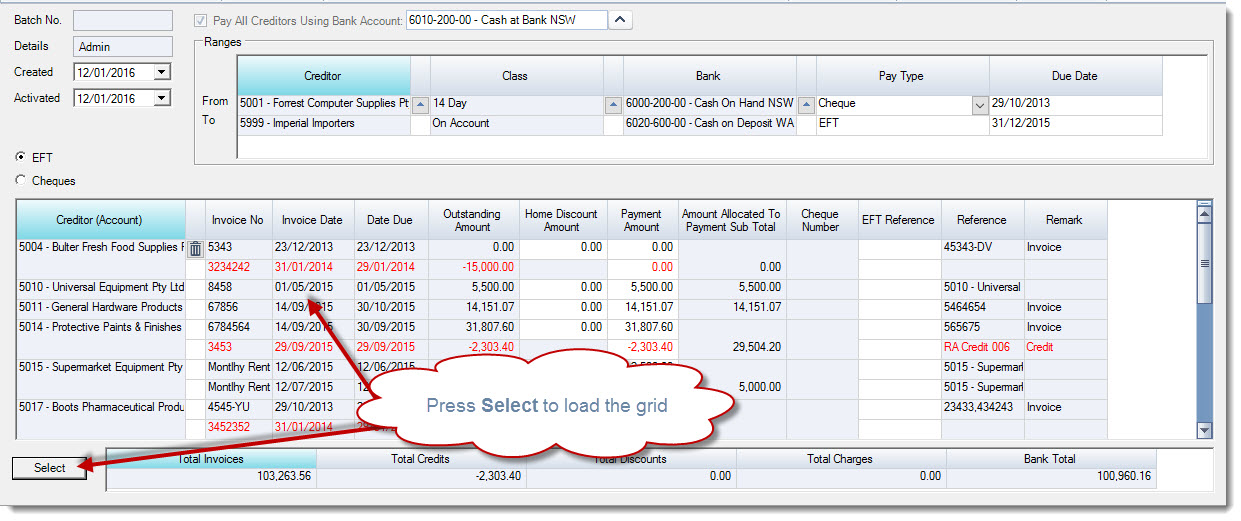
Confirm the bank account that the payments are to be made from and then
-
Select if the payment batch is for EFT or cheque payments, and
-
Set your filter ranges

Field Definitions
|
Field |
Description |
|
Batch No. |
The batch number is automatically created when the batch is first saved. This is field is not editable. |
|
Details |
This field is automatically updated with the logged in users name and cannot be changed |
|
Created |
This is the date the batch was created, it will default to the system login date but can be changed if required. |
|
Activated |
This is the date that is recorded against each payment and the date recorded against the batch when posted to the GL. This date is also used in the ABA file as the processing date. |
|
Pay All Creditors Using Bank Account |
The bank account that all payments will be made from. The field is automatically populated with the default bank account from your banking details setup. |
|
Creditor |
These fields allow you to limit the creditor transactions returned in the grid, or used to add one creditor at a time to the grid. The range is automatically populated with the first and last Creditor. |
|
Class |
These fields allow you to limit the creditor transactions returned in the grid based on creditor classifications. The range is automatically populated with the first and last creditor classification. |
|
Bank |
These fields allow you to limit the creditor transactions returned in the grid based on the bank account that the Creditor is linked to. The account is taken from the Creditor Sourced Payments control account in Creditor Maintenance. The range is automatically populated with the first and last GL bank account. |
|
Pay Type |
These fields allow you to filter on the payment type that is linked to the Creditor account. This range is automatically populated with the fist and last payment type. |
|
Due Date |
These fields allow you to filter on Creditor invoices based on the invoice due date. Only those invoices falling within the from/to dates are returned to the grid. |
|
EFT |
Select this option of you intend to create an ABA file to pay your Creditors |
|
Cheque |
Select this option of you intend pay your Creditors by cheque |
When you have set your options click on the Select icon at the bottom of the form to load the selection grid.
Press Save To remove an invoice from the grid click on the rubbish bin icon next to the invoice.
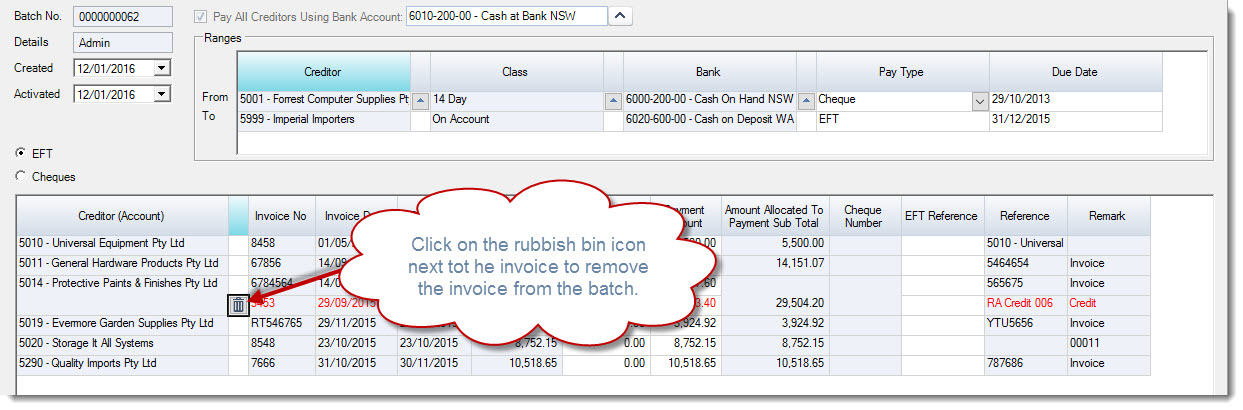
Press Save to record your batch changes.
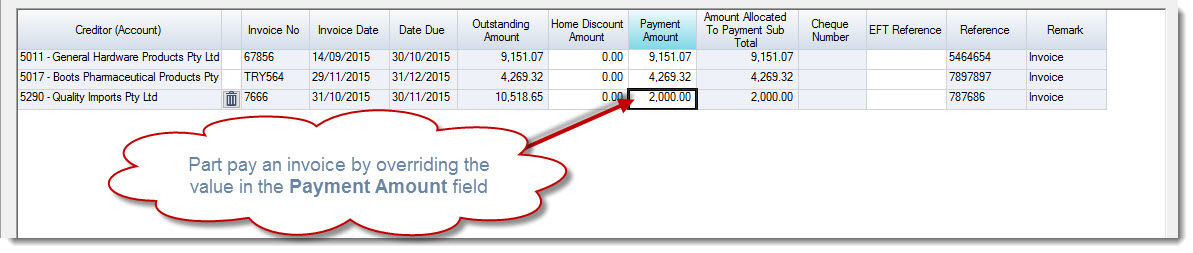
If your Jiwa database has been configured to fully pay each invoice that is loaded into the grid then you will notice that the Payment Amount field is automatically populated for you with the outstanding invoice value.
To part pay an invoice simply override the value in this field.
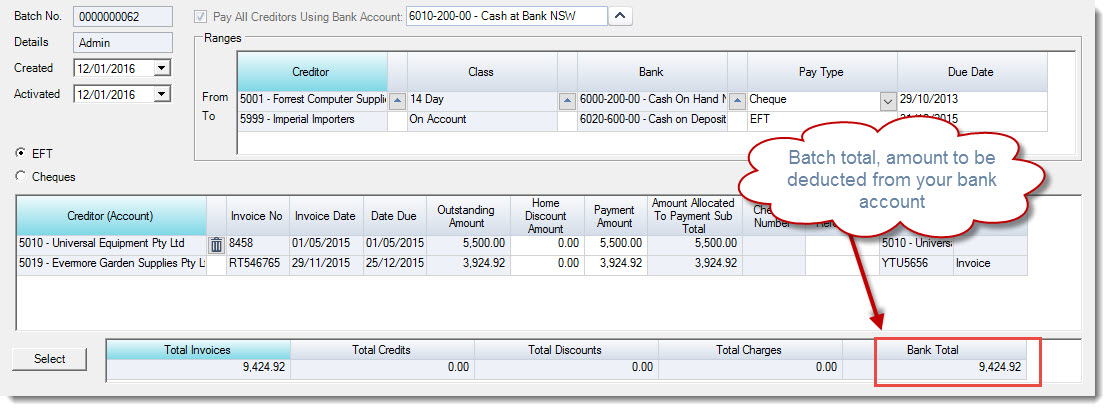
Complete your final review of the proposed payments and check your batch total.
From the menu ribbon select Activate to completed you payment batch and update the Creditors ledger with the payment details.
To create your ABA file from the menu ribbon select the Utilities tab and then Make ABA EFT File

Select the location where you want to save your ABA file is to be saved to and if require rename the file
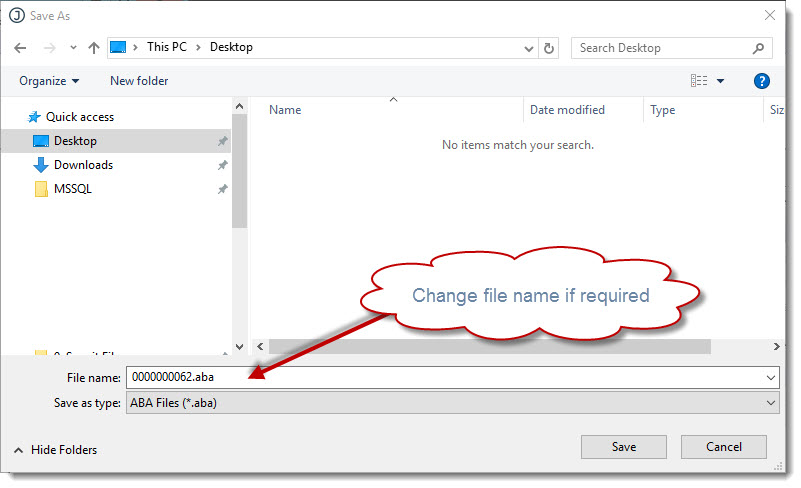
Select OK at the saved prompt
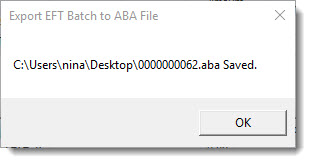
Your ABA file is now ready for processing through your bank.
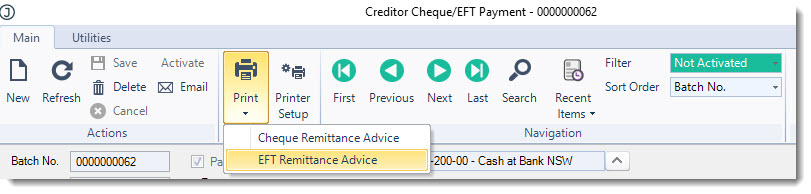
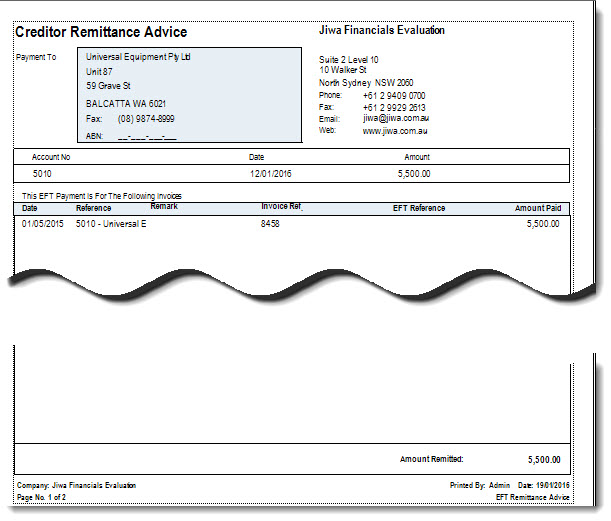
EFT Remittance Advice
To print out the Creditors EFT Remittance Advice from the menu ribbon select Print | EFT Remittance Advice
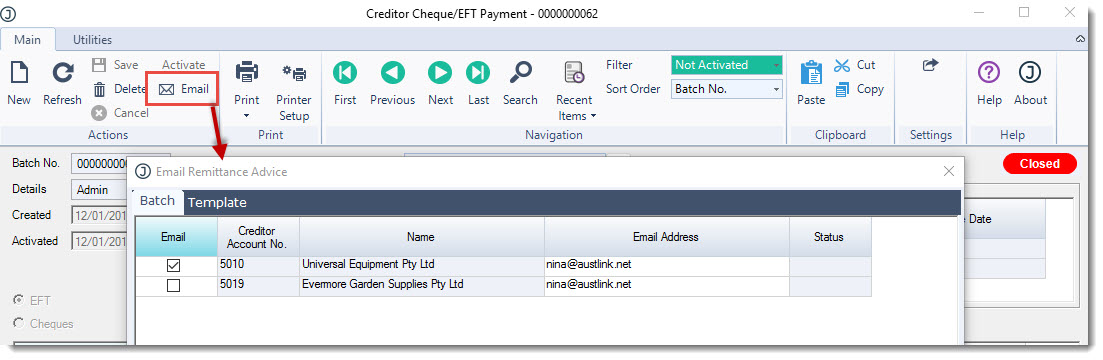
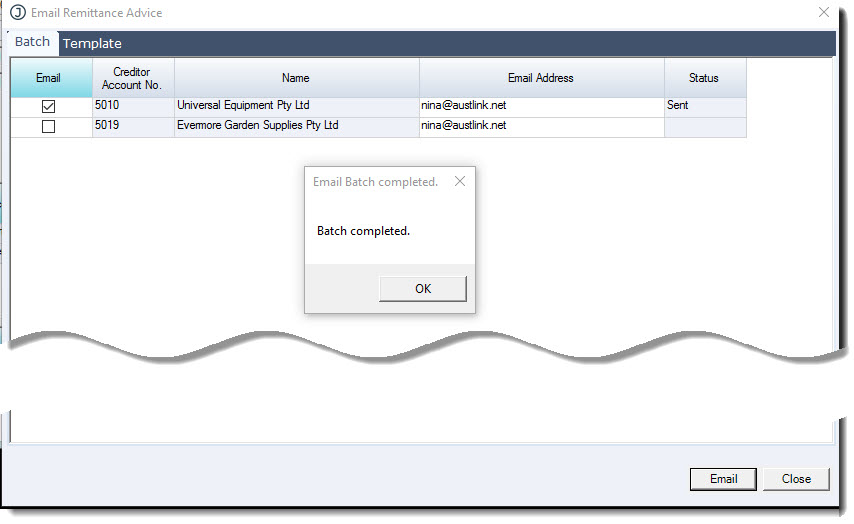
To email your Creditor Remittance Advice from the menu ribbon select the Email icon this will activate the Email Remittance Advice popup.
From this form you can:
-
Confirm Creditor email addresses,
-
Update email address (this will not update the maintenance file), or
-
Select Creditors not to send remittances to
Once you have made your required changes click on the Email icon at the bottom of the form.
Select OK at the Email Batch completed popup
You will notice that the email Status has been updated confirmed that the remittance has been emailed out.
Cheque Payments
The process of preparing a cheque payment batch is the same as preparing an EFT payment batch with a couple of exceptions.
When creating your batch set the pay type to Cheque this will ensure that only those Creditors with a payment type of Cheque are returned to the payment grid.

Select the Cheque option this will activate the Starting Cheque Number field

Confirm your starting cheque number.
The One Cheque option is used when you want to pay a number of creditor accounts with a single cheque for example when paying Creditor Head Office and Branch accounts.
When you then press Select to load your grid you will notice that the Cheque Number field is automatically populated.

Complete your cheque payment batch and when ready select Activate to update your creditor account with the payment details.
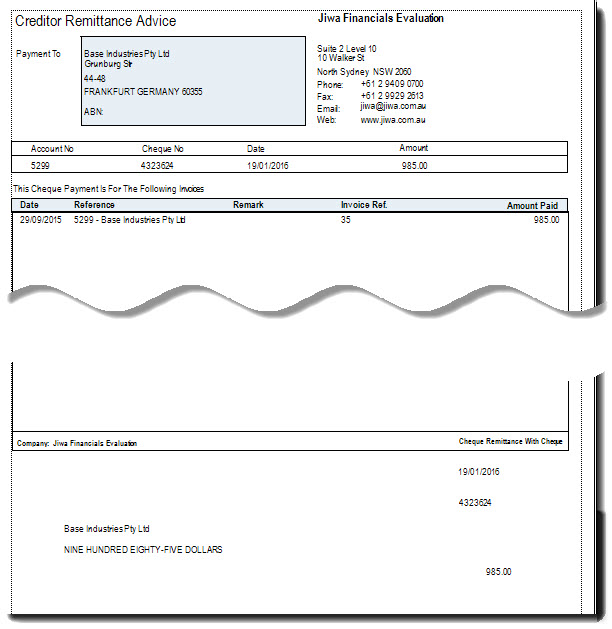
Cheque Remittance Advice
To print out the Creditors Cheque Remittance Advice from the menu ribbon select Print | Cheque Remittance Advice